Clean MIG welds depend on steady wire feed control.
If your MIG welder has spatter, uneven beads, or arc stutter, the wire feed setup is usually the problem—not your skill.
Wire feed welding works best when wire speed, voltage, tension, and technique stay balanced. When they do, the arc remains smooth, the puddle remains stable, and the bead ties in cleanly.
In this guide, you’ll learn practical wire feed welding tips that improve arc control, bead shape, and weld strength—from setup basics to common fixes MIG welders use every day.
What is wire feed welding and why does it matter?
Wire feed welding is a MIG process where a motor continuously feeds wire through the gun, acting as both electrode and filler.
It matters because a steady wire feed maintains a stable arc and a predictable weld puddle. When the feed becomes inconsistent, the arc stutters, penetration suffers, and weld quality drops fast.
Key parts of the wire feed system
- Spool holds the wire
- Drive rolls push the wire
- Liner guides the wire
- Contact tip transfers current
- Gun cable carries the wire
When each part works well, the arc stays even and the bead stays clean.
Why does wire feed control affect weld quality?
Wire feed control affects weld quality because it directly controls amperage, arc stability, and heat input.
When wire speed stays consistent, the arc remains smooth and penetration stays even. When wire speed jumps or slows, the arc becomes unstable and defects appear.
Good wire feed helps you:
- Maintain A Steady Arc
- Reduce spatter
- Improve bead shape
- Control penetration
- Avoid burn-through
- Move faster without losing quality
Small adjustments in wire feed often lead to big improvements in your welds.
What are the top wire feed welding tips?
The top wire feed welding tips focus on balancing wire speed, voltage, tension, and technique to keep the arc stable.
These tips apply to both beginner and experienced MIG welders and solve most feeding-related problems.
How do you match wire feed speed to voltage?
You match wire feed speed to voltage by adjusting wire speed until the arc stays smooth and continuous.
In MIG welding, voltage stays mostly constant, and wire feed speed controls amperage.
Use this quick arc sound check:
- Harsh Arc: Wire Speed Is Too Low
- Popping Or Stubbing: Wire Speed Is Too High
- Smooth “Frying Bacon” Sound: Settings Are Balanced
This simple sound check helps you find the right match fast.
What wire diameter should you use?
You should choose wire diameter based on metal thickness and heat control needs.
Smaller wire melts faster and works better on thin metal, while larger wire handles higher amperage and thicker steel.
Common wire sizes
- 0.023 in: Thin sheet and auto work
- 0.030 in: Most light fabrication
- 0.035 in: Medium to thick steel
- 0.045 in: Heavy structural work
The right wire size keeps the arc smooth and reduces burn-through.
How do you choose the right wire type for your metal?
You choose the types of wire welding by matching the filler to the metal you want to weld.
Wire types by material
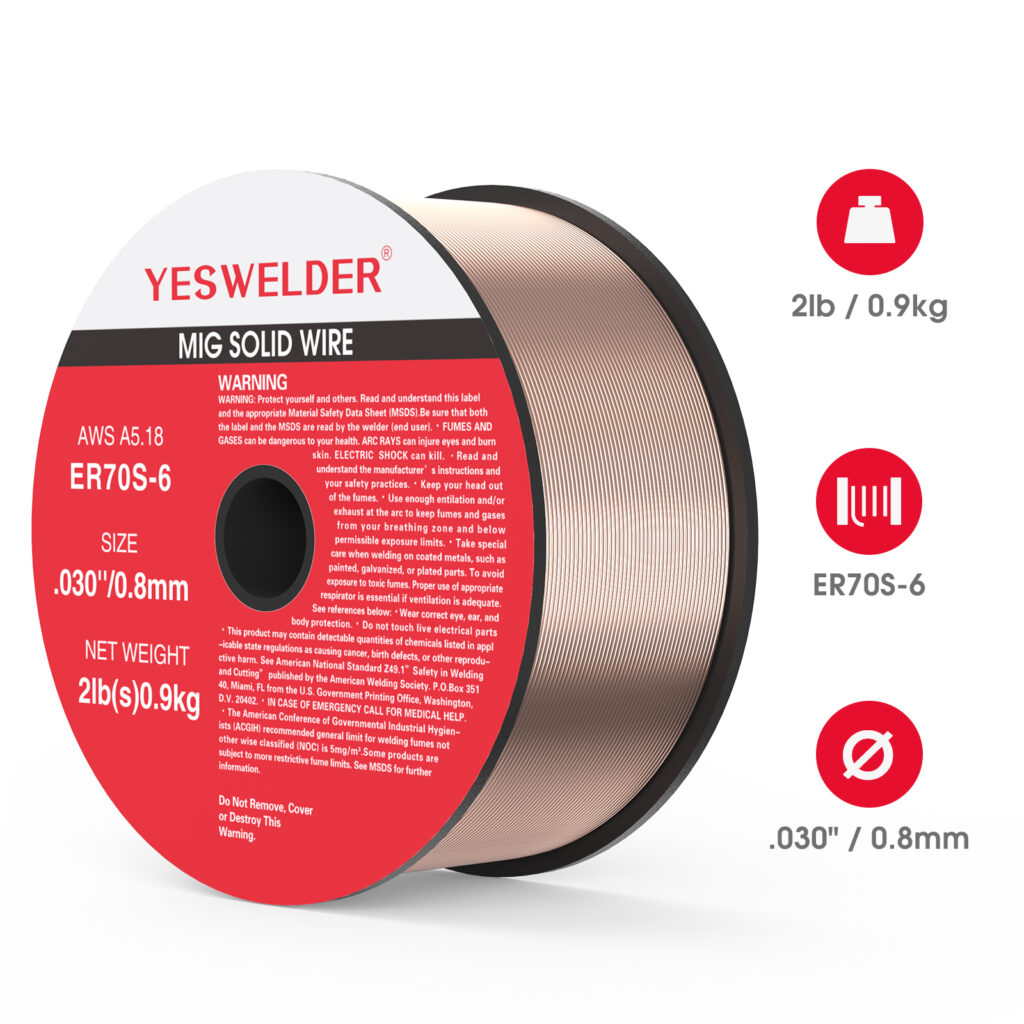
- Mild steel: ER70S-6
- Stainless: ER308L or ER309L
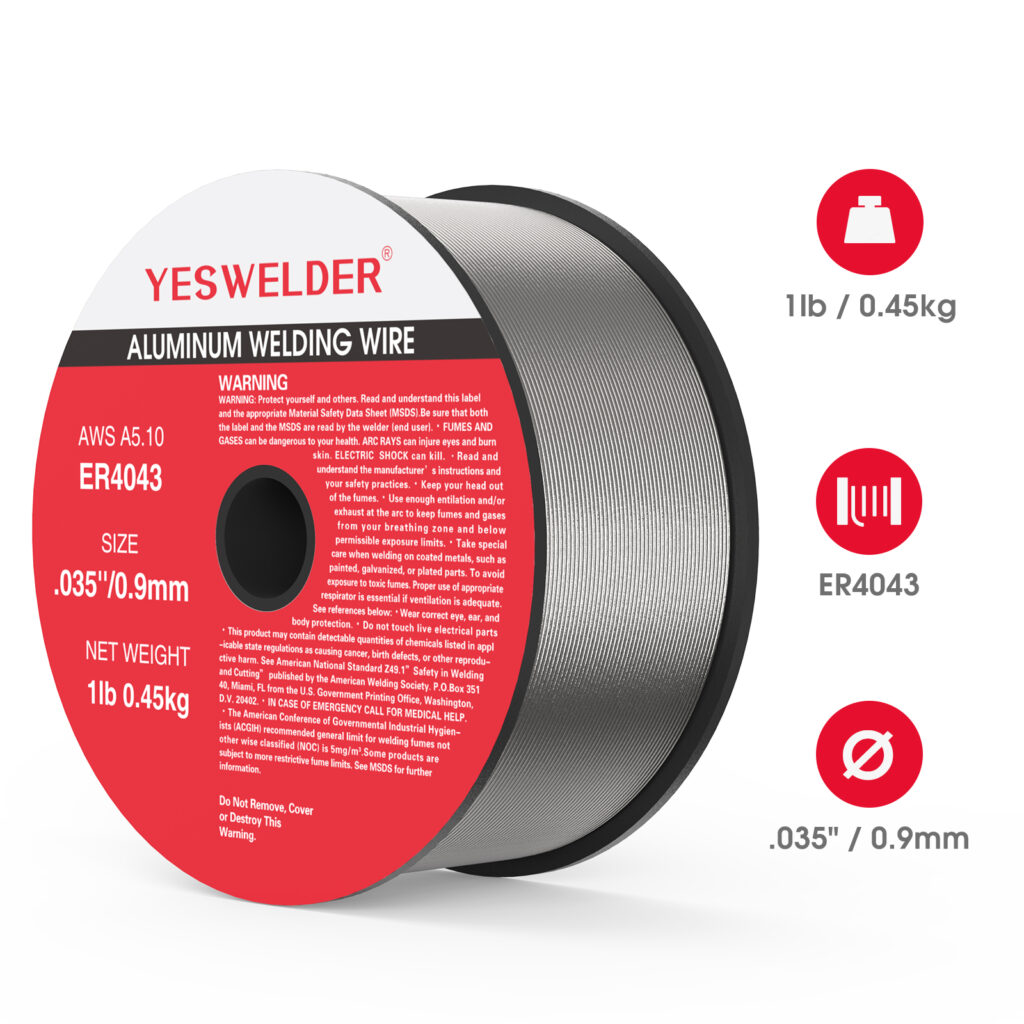
- Aluminum Welding Wire: ER4043 or ER5356
- Outdoor work: Gasless flux-core wire
The right wire prevents weak fusion and surface flaws.
Even with the correct wire type, inconsistent wire quality can still cause feeding issues, arc instability, and surface defects. Working with experienced welding wire suppliers helps ensure consistent chemistry, clean wire surfaces, and smooth feeding performance across different welding jobs.


How do you set proper drive roll tension?
You should set drive roll tension just tight enough to feed wire smoothly without crushing it.
Most beginners overtighten the rolls, which deforms the wire and causes feeding problems downstream.
Follow these steps:
- Tighten the rolls until the wire feeds smooth
- Pull the wire against a wood block
- Rollers should slip gently
- If they crush the wire, loosen the tension
Correct tension prevents bird-nesting and arc stutter.
What problems happen with wire feed and how can you fix them?
Most wire feed problems come from liner wear, wrong tension, or poor wire condition.
Check these issues in order before changing machine settings.
Bird-nesting
Bird-nesting happens when wire can’t move smoothly through the gun.
- Lower the roller tension
- Replace the liner
- Use correct drive rolls
- Straighten the cable
Burn-back
Burn-back occurs when wire speed is too slow or stick-out is too short.
- Raise wire speed
- Shorten stick-out
- Change worn tips
Arc stutter
Arc stutter happens when wire feed speed fluctuates and the arc repeatedly cuts in and out.
- Raise wire speed
- Replace liner
- Change tip
- Adjust roll tension
Heavy spatter
Heavy spatter occurs when voltage and wire feed speed are not balanced or when the base metal is contaminated.
- Lower voltage
- Match wire speed to voltage
- Raise travel speed
- Clean the base metal
Porosity
Porosity forms when shielding gas coverage is poor or contaminants enter the weld puddle.
- Check gas flow
- Keep wire dry
- Clean the joint
What advanced methods can improve wire feed welding?
A few extra steps can lift your weld quality even more.
Advanced tips
- Change inductance settings if your machine offers it
- Use pulse mode for thin metal
- Preheat thicker metal
- Test different stick-out lengths
Conclusion
Better MIG welds start with better wire feed control.
When wire speed, tension, liners, contact tips, and technique work together, the arc stays stable and the bead forms clean every time.
If your welds struggle with spatter, arc stutter, or poor tie-in, fix the wire feed first. Small adjustments often make the biggest difference.
If you’re dialing in a new MIG setup or replacing consumables, working with a reliable welding equipment supplier matters just as much as technique. Brands like YesWelder offer MIG welders, wire, liners, and consumables designed to feed smoothly and stay consistent across real-world jobs.
FAQ: Wire Feed Welding Problems & Best Practices
A clean MIG liner ensures smooth wire feeding and a stable arc. Dirt or wear increases friction, which leads to feeding problems.
Common warning signs include:
-Jerky Or Inconsistent Wire Feed
-Frequent Burn-Back
-Bird-Nesting Near Drive Rolls
Replacing a worn liner is inexpensive and often fixes feeding issues immediately.
Contact tip size matters because it controls how current transfers to the wire. A mismatched tip causes unstable arcs and feeding trouble.
Typical problems include:
-Loose Fit Causing Arc Wander
-Tight Fit Leading To Wire Jams
-Worn Tips Creating Poor Arc Starts
Always match the tip size to the wire diameter.
Trimming the wire helps the arc start smoothly. Bent or uneven wire ends often cause stubbing at arc start.
Best practice:
Cut The Wire Cleanly Before Welding
A clean wire start makes arc control easier from the first second.
Correct stick-out keeps heat input consistent and improves penetration.
Typical ranges:
-Solid Wire: About 3/8 Inch
-Flux-Core Wire: About 1/2–3/4 Inch
Consistent stick-out leads to better bead shape.
Use the push technique when welding with solid wire. It improves gas coverage and produces a cleaner bead.
Quick rule:
-Push For Solid Wire
-Pull Only When Using Flux-Core
Travel speed controls bead shape and penetration.
Common issues:
-Too Fast: Poor Tie-In
-Too Slow: Excessive Heat
A steady pace keeps the weld puddle under control.
A straight gun cable reduces friction inside the liner and helps maintain steady wire feeding.
Basic care tips:
Avoid Tight Bends
Keep The Cable Straight While Welding
Store welding wire in a dry environment to prevent rust and porosity.
Key storage tips:
-Keep Spools Sealed
-Avoid Damp Or Humid Areas
Clean wire produces cleaner welds.