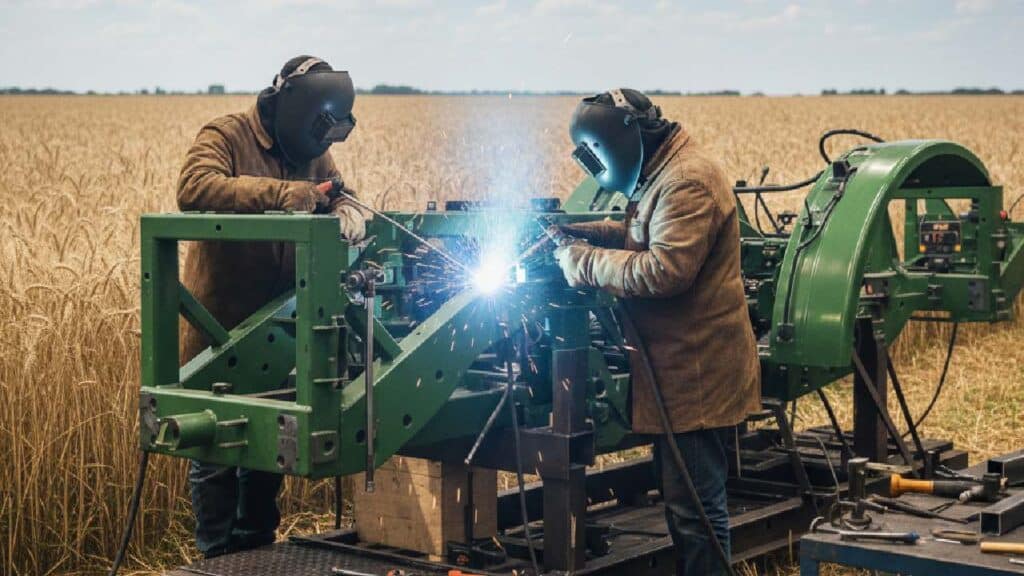
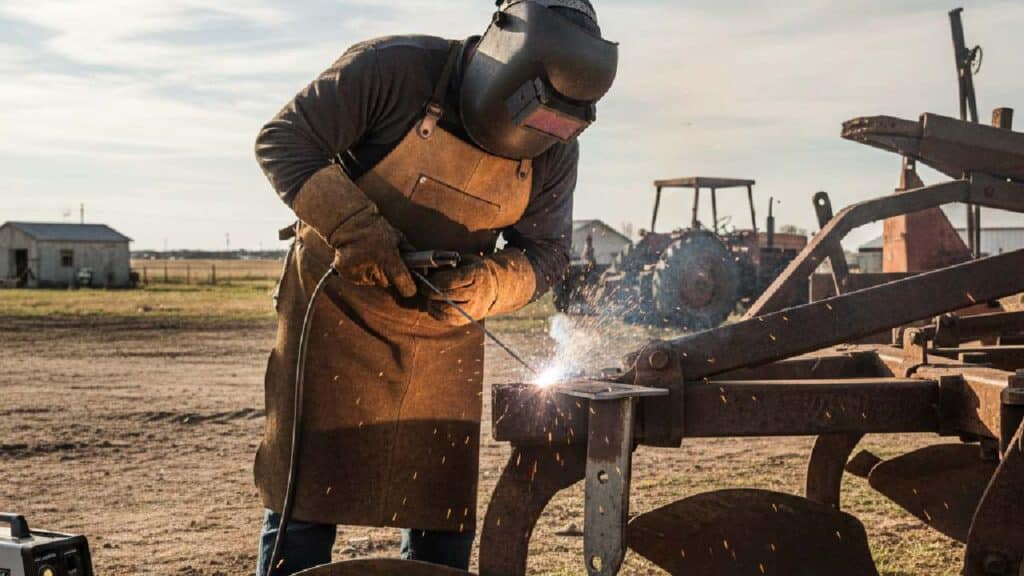
Agricultural welding is the on-farm repair, reinforcement, and fabrication of farm equipment using welding methods that work in dusty, windy, “get-it-done” conditions. In plain terms: it’s how you fix cracked frames, worn buckets, broken hitches, and busted gates without losing days to hauling equipment into town.
In this guide, we’ll cover what farm equipment breaks most often, which welding process fits each job, what repairs typically cost, and the mistakes that cause “same crack, different week” repeat failures.
Why Is Agricultural Welding So Important on a Working Farm?
Agricultural welding matters for one reason: it keeps your operation moving when equipment failure hits at the worst possible time.
Here’s what it protects in real life:
- Your Time During Peak Windows: A cracked hitch or loader arm can stop planting, feeding, or hauling immediately. A fast field repair can save an entire day.
- Your Cash Flow: Welding usually costs far less than replacing assemblies, frames, or attachments.
- Your Safety: Cracks grow under load. A “small split” on a bucket mount can become a sudden failure when you lift, tow, or brake.
Repair vs. Replacement Cost (Typical Examples)
| Component | Replacement Cost | Weld Repair Cost |
| Tractor Frame Section | $5,000–$12,000 | $300–$800 |
| Loader Bucket | $2,000+ | $150–$500 |
| Trailer Tongue | $1,500–$4,000 | $200–$600 |
Tip: If you’re comparing quotes, ask whether the price includes crack prep (grinding/gouging), reinforcement plates, and weld cleanup. Those steps are often the difference between a “holds for a month” repair and a multi-season repair.
What Farm Equipment Needs Welding Most Often?
Most farm welding jobs fall into four buckets. If you’re trying to spot problems early, start with the stress points listed under each one.
Heavy Structural Equipment
These parts take constant vibration and shock loads:
- Tractor Frames And Subframes
- Loader Arms And Mounts
- Combine Chassis And Brackets
- Hitch Assemblies And Drawbars
Where cracks usually start: bolt holes, gusset corners, weld toes, and anywhere dirt packs in and stays wet.
Ground-Contact Tools (High Wear)
These parts grind through soil and impact rocks:
- Plows And Plow Shanks
- Cultivators And Points
- Harrows And Discs
- Cutting Edges And Scrapers
Common fix: reinforcement + hardfacing (more on that below).
Transport And Load Equipment
Weight + uneven terrain is a brutal combo:
- Trailers And Tongues
- Grain Carts And Side Panels
- Axle Supports And Hangers
- Gate Latches And Lift Points
Quick warning: repeated cracking on trailers often means the underlying issue is alignment, overload, or a flexing crossmember—not “bad welding.”
Livestock And Utility Structures
These jobs look simple until you’re doing them in mud and wind:
- Gates And Hinges
- Fencing Brackets
- Feeders And Stalls
- Corrals And Pens
Which Welding Process Works Best for Farm Repairs?
Choose the welding process based on where you’re welding and how clean the metal can realistically get.
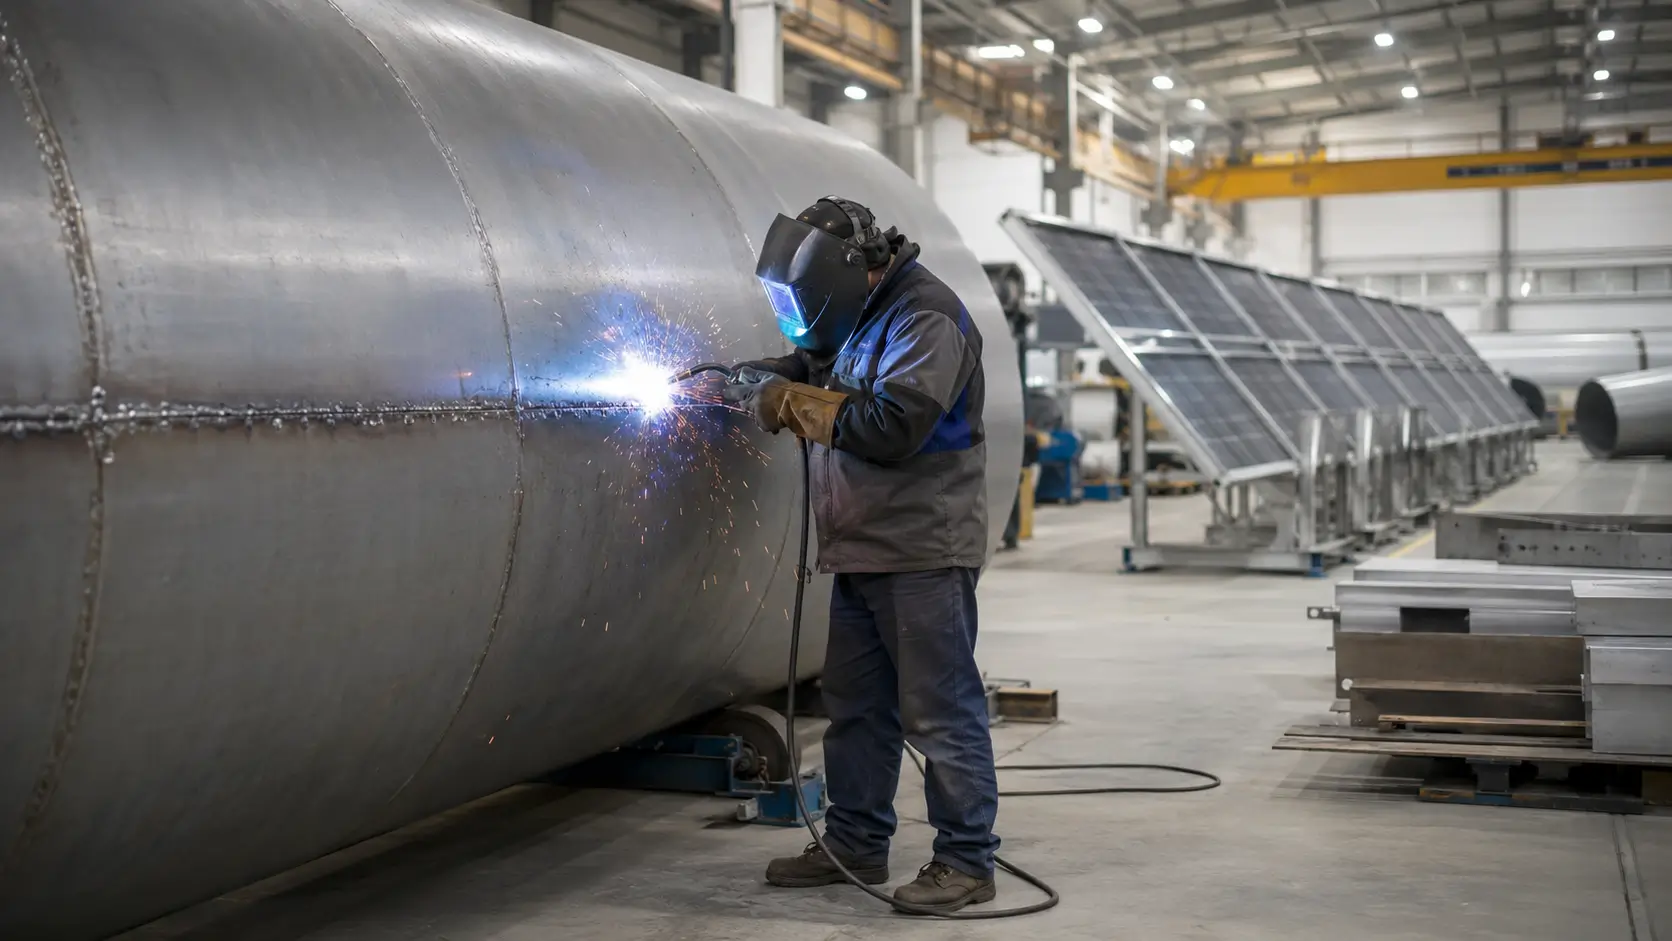
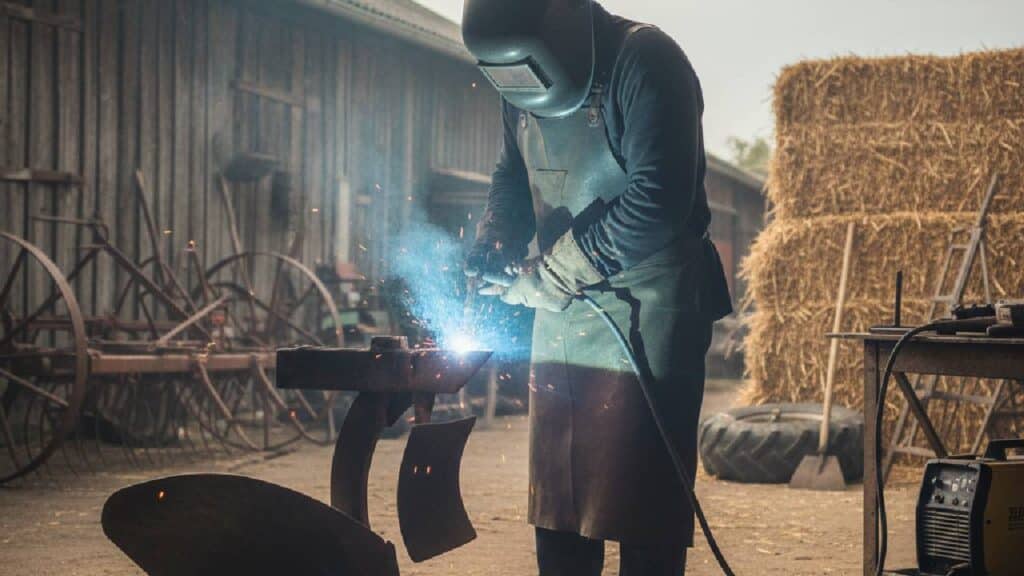
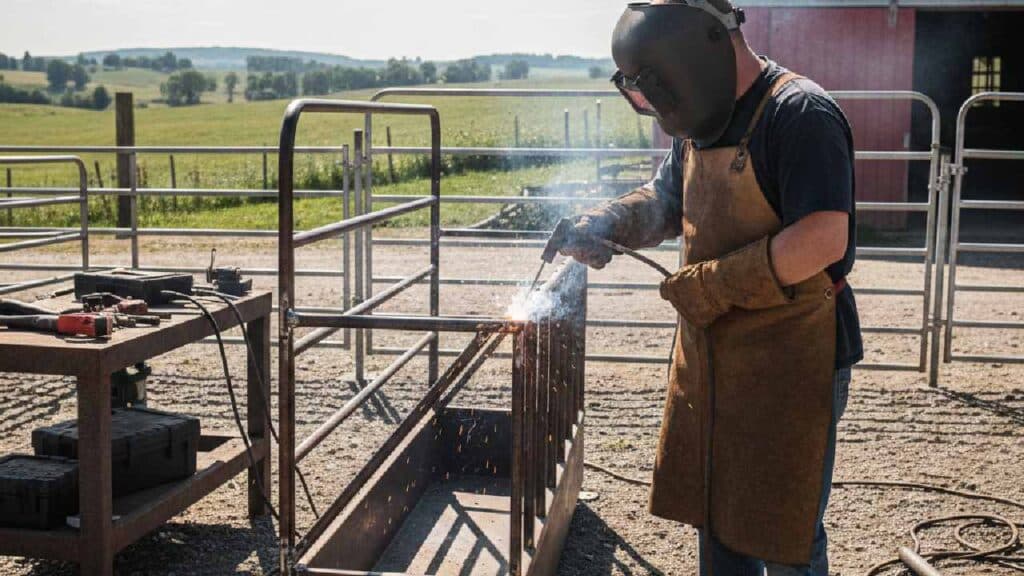
Stick Welding (SMAW) — Best for Field Repairs
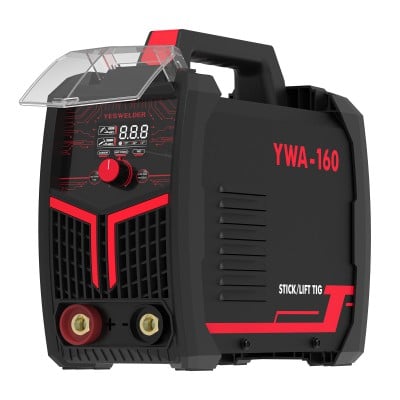
The stick welder is the farm favorite because it keeps working when conditions are ugly.
- Handles Wind Better: No shielding gas to blow away.
- Tolerates Rust And Dirt: Still needs prep, but it’s forgiving.
- Easy to Power: Works well with generators.
- Lower Setup Cost: Great for farms that do frequent repairs.
Best for: frames, hitches, buckets, trailer repairs, reinforcement plates.
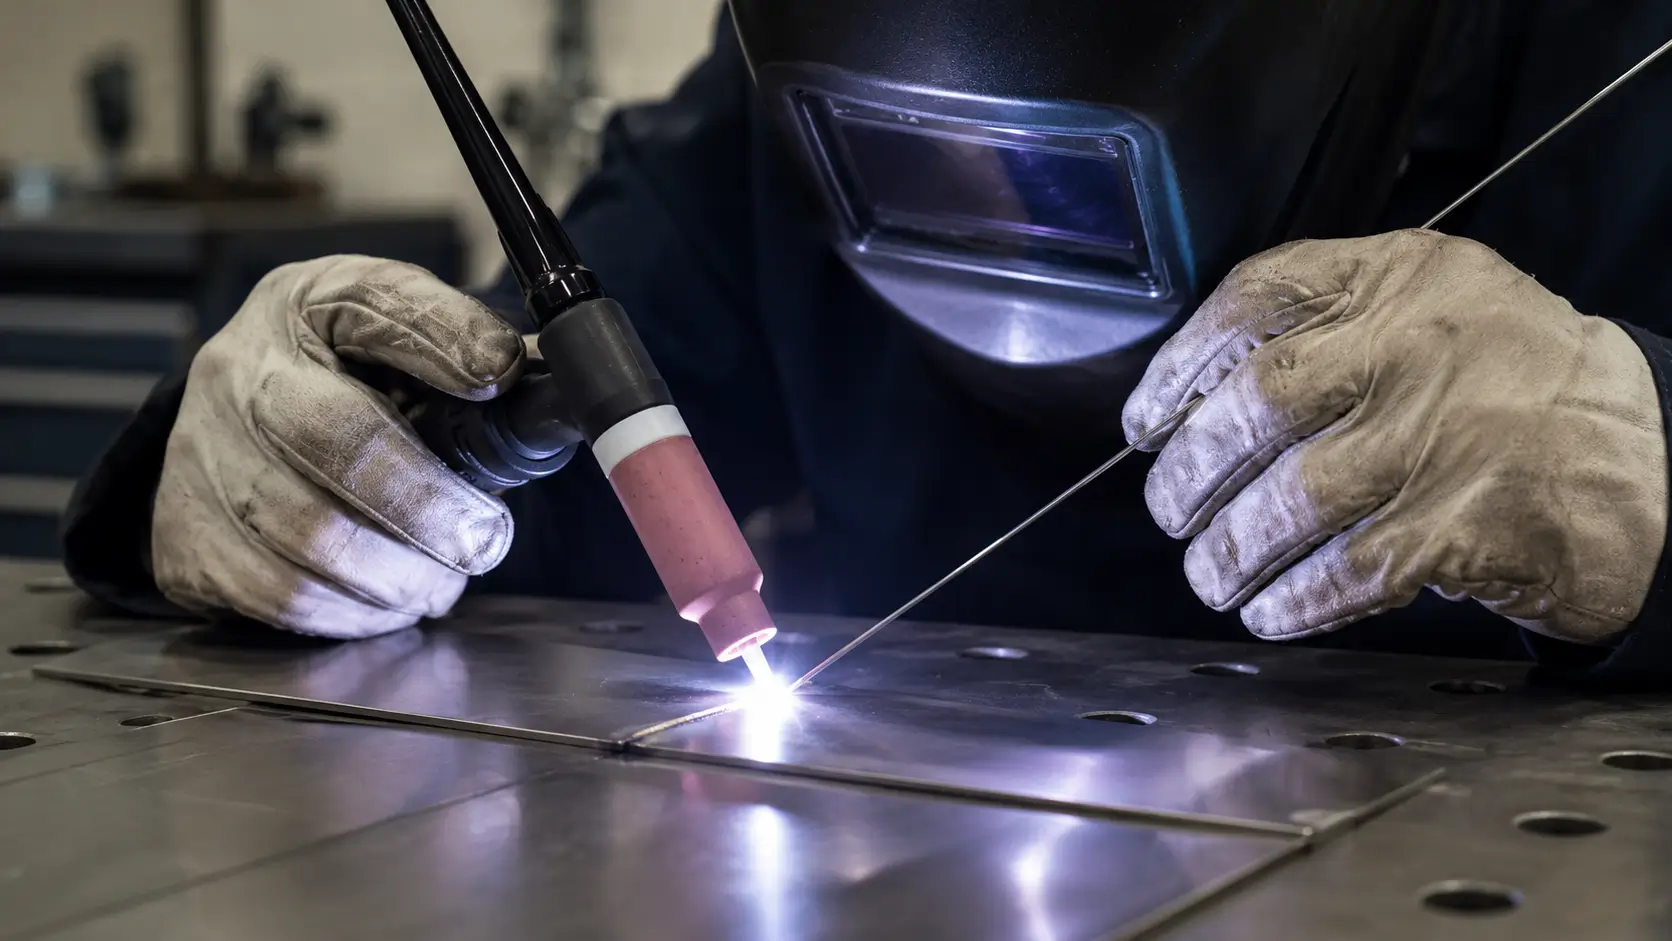
MIG Welding (GMAW) — Best for Shop Work and Fabrication
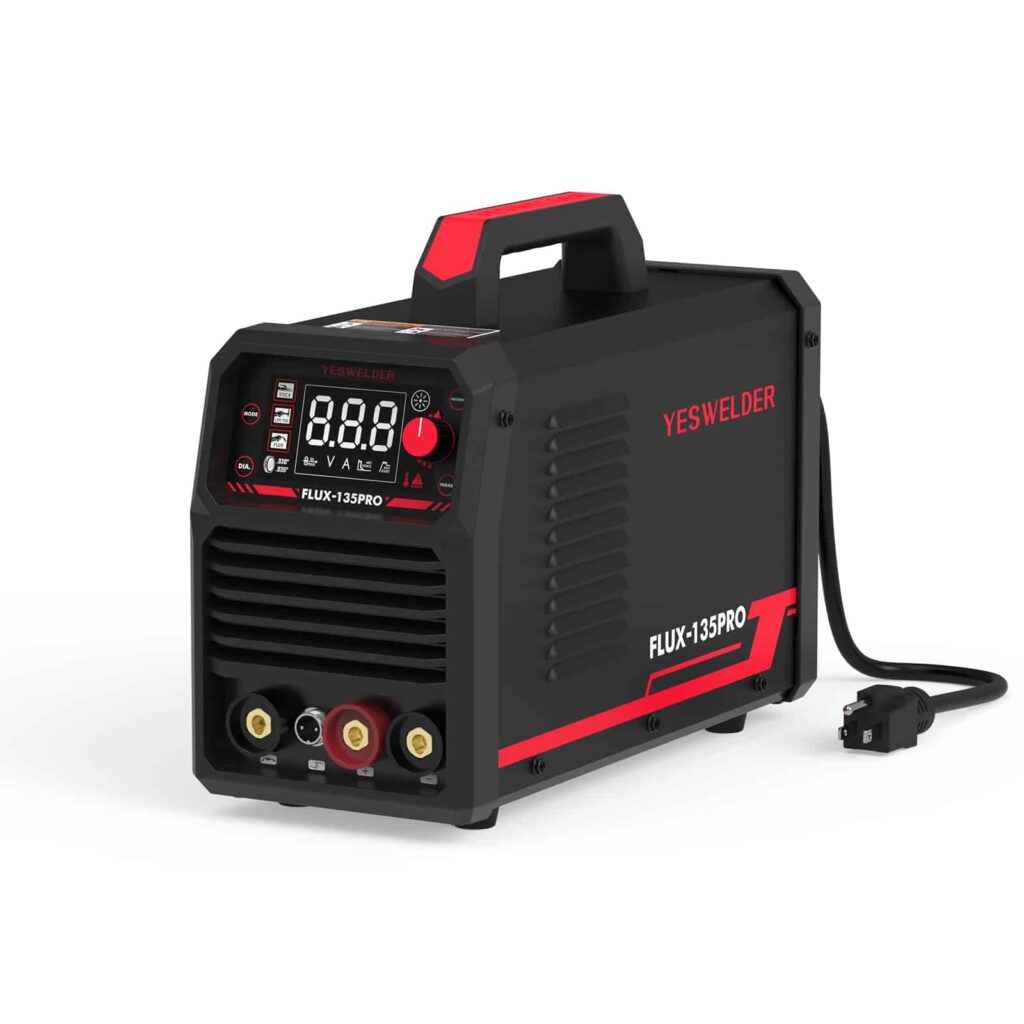
The MIG welder is fast and clean when you can control the environment.
Best for: fabrication, medium-gauge steel, custom attachments, repeatable shop repairs.
Watch out for: wind outdoors (gas coverage fails and porosity shows up later).
TIG Welding (GTAW) — Best for Precision and Aluminum
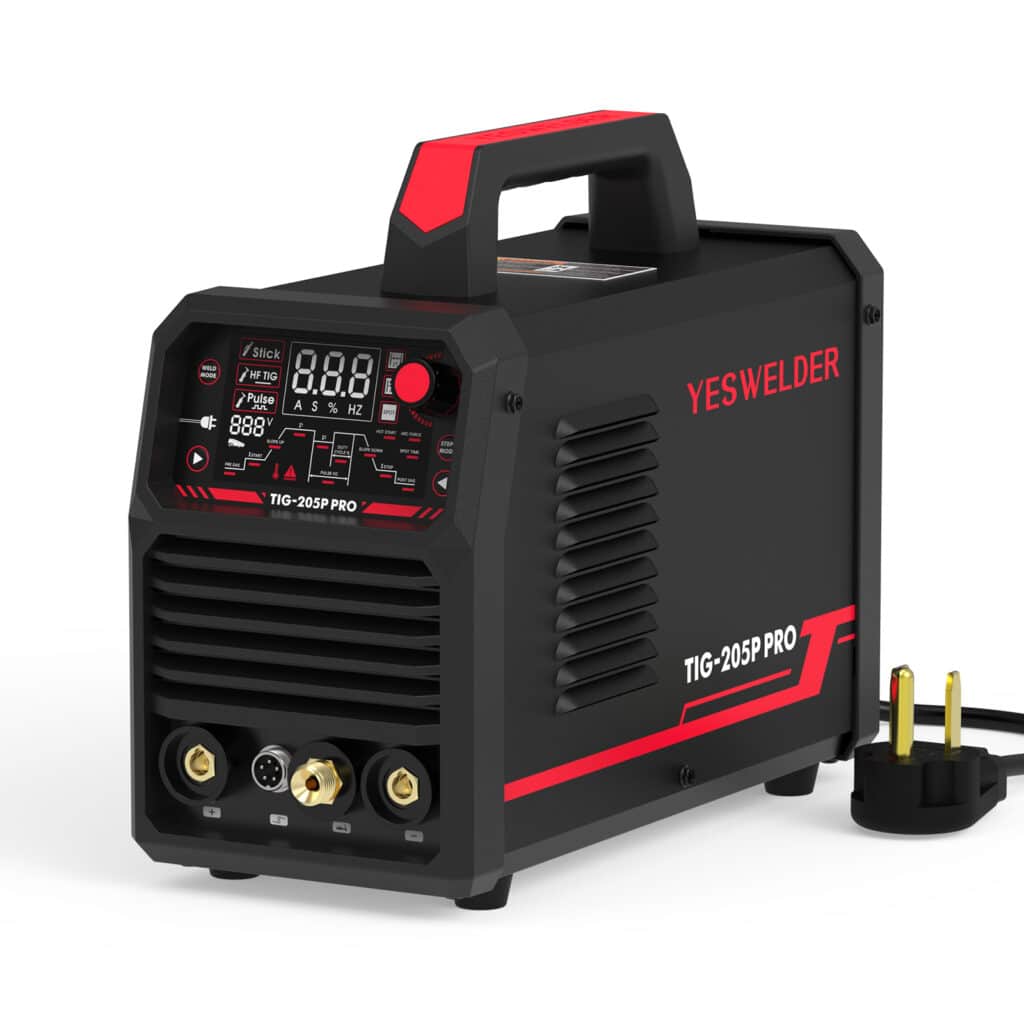
The tig welder gives the most control, but it’s slower and skill-heavy.
Best for: thin materials, stainless components, and aluminum irrigation parts.
Quick Comparison
| Process | Best Use | Field Friendly | Skill Level |
| Stick | Heavy Structural Repair | Yes | Moderate |
| MIG | Fast Shop Repairs + Fabrication | Limited Outdoors | Beginner–Intermediate |
| TIG | Thin Metals + Aluminum | No | Advanced |
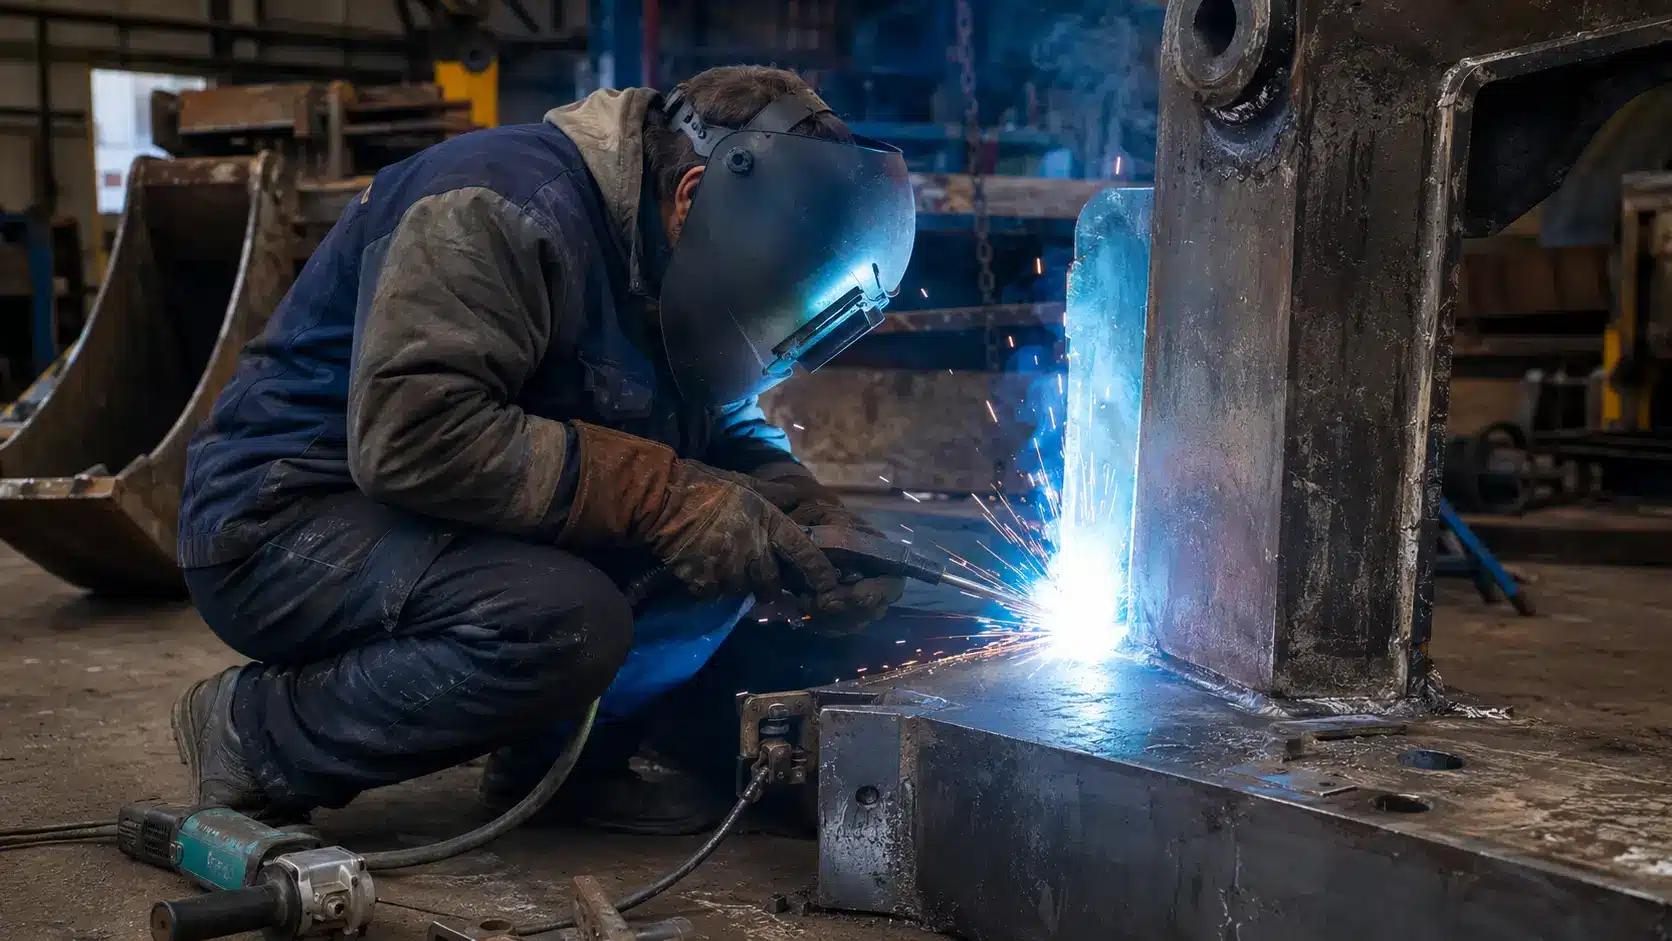
How Do You Weld Farm Equipment the Right Way? A Simple Repair Workflow
A strong farm repair is mostly prep work. The weld bead is the last step, not the first.
- Make it safe first: Shut down, cool hot parts, and keep fuel/oil away from the work area.
- Find the full crack: Clean the area and locate the crack tip (many cracks run farther than they look).
- Prep the joint: Grind to bright metal and cut a groove if needed so you’re welding full thickness.
- Control heat: Preheat thick sections or tricky metals when required, then avoid overheating thin edges.
- Weld in controlled passes: Use multiple passes on thick steel and avoid “one giant hot pass.”
- Add reinforcement when needed: Use gussets, fish plates, or wear strips if the area is a known stress point.
- Cool and recheck: Let it cool properly, then inspect for undercut, lack of fusion, or porosity.
If a repair keeps re-cracking in the same spot, the issue is usually joint design, poor crack prep, or stress that needs a plate/gusset—not the brand of rod.
What Metals Make Agricultural Welding Harder Than It Looks?
Different metals fail for different reasons. If you weld them the same way, you get cracks later.
Mild Steel
This is the most common farm material and the easiest to repair. With proper prep and good technique, it’s forgiving.
High-Carbon Steel (Cutting Edges, Blades)
High-carbon steel can crack if you dump too much heat into it or cool it too fast.
Best practice: controlled heat input, the right filler, and avoid quenching.
Cast Iron (Older Housings, Engine Parts)
Cast iron repairs can go wrong fast.
- Preheating helps prevent cracking
- Slow cooling matters (rushing this is how you get brittle repairs)
- Use the correct electrodes/filler
Aluminum (Irrigation, Lightweight Components)
Aluminum welding needs clean prep and tight heat control. TIG is common for precision work.
What Is Hardfacing (And When Is It Worth It)?
Hardfacing adds a wear-resistant layer to parts that grind against soil, rock, or feed materials.
Hardfacing is usually worth it when:
- You replace the same-worn part every season
- The base metal is still sound, but the contact surface disappears fast
- You want longer intervals between downtime repairs
Common hardfacing targets:
- Plow blades and points
- Cultivator tips
- Auger edges
- Bucket lips and cutting edges
What Tools Do You Need for Field Agricultural Welding?
A solid farm welding setup is about portability and reliability, not fancy extras.
Core Tools
- Welding machine (stick / MIG / TIG)
- Electrodes or filler wire
- Angle grinder + cutting discs
- Clamps and magnets
- Cutting tool (plasma or oxy-fuel)
- Protective gear (helmet, gloves, jacket, boots)
Field Setup Checklist
- Generator compatibility: Make sure your power source can handle startup loads.
- Weather protection: Dust and vibration destroy weak cases fast.
- Prep tools matter most: Grinding and fit-up often decide repair quality more than the welder itself.
How Much Does Agricultural Welding Cost?
Most farm welding invoices come from four cost drivers:
- Mobile call-out fee: travel + setup time
- Labor time: cutting, grinding, welding, cleanup, reassembly
- Consumables: rods/wire, gas (if used), discs, tips
- Extra steps: preheat for cast iron/high-carbon steel, hardfacing layers, reinforcement plates
Example: “Cracked Loader Bucket Lip” Cost Breakdown (Typical)
- Crack prep + grinding: 30–60 min
- Weld + reinforcement strip: 45–90 min
- Cleanup + recheck: 15–30 min
Typical total range: $150–$500 (more if the crack runs into mounts or the metal is severely worn).
Agricultural Welding vs. Industrial Welding: What’s the Real Difference?
Agricultural welding prioritizes function and uptime. Industrial welding prioritizes repeatability and precision in controlled conditions.
| Aspect | Agricultural Welding | Industrial Welding |
| Purpose | Repair + reinforcement | Manufacturing |
| Environment | Outdoor + variable | Controlled shop |
| Precision | Practical | High precision |
| Automation | Minimal | Often automated |
| Top Priority | Uptime | Production efficiency |
When Should You Repair vs. Replace Farm Equipment?
Not every crack should be welded. Some damage is a safety problem, not a repair problem.
Replace parts when:
- Damage is in a critical load zone, and reinforcement won’t restore strength
- Metal fatigue is widespread (multiple cracks, thin wall, repeated failures)
- Corrosion has eaten away structural integrity
Repair is a good bet when:
- Damage is localized
- Alignment and geometry are still stable
- A plate/gusset can reduce stress and prevent repeat cracking
If you’re unsure, get a professional assessment. A “temporary fix” in a load-bearing area can become an injury risk.
What Skills Make a Great Agricultural Welder?
The best farm welders don’t just “run a bead.” They think like mechanics.
- Spot stress points before they fail
- Understand metals and heat behavior
- Prep joints properly (even when it’s annoying)
- Build reinforcement that fits how the machine is used
- Work safely around fuel, dust, and uneven ground
Safety Tips You Should Never Skip on a Farm
Farm welding has extra hazards. Don’t treat it like a clean shop job.
- Keep fire risk low: Fuel, grease, and dry crop residue ignite fast.
- Watch grain dust: It can be combustible in enclosed areas.
- Stabilize the work area: Uneven ground increases shock and tip hazards.
- Protect cables and leads: Avoid pinch points and wet areas.
Final Thoughts
Agricultural welding keeps your farm equipment working when timing matters most. If you choose the right process, prep the joint properly, and reinforce known stress points, you can extend equipment life and cut replacement spending—without repeating the same repair every few weeks.
FAQs
Common mistakes in agricultural welding include welding over rust or paint without proper preparation, failing to drill crack-stop holes at the ends of fractures, overheating high-carbon steel, and skipping reinforcement in high-stress areas. These errors often lead to repeated cracking and shortened equipment lifespan.
For outdoor farm repairs, MMA (stick welding) is usually better because it handles wind and dirty metal more reliably. MIG welding is faster and cleaner, but it works best in controlled indoor environments.
For structural steel farm equipment, 6011 is ideal for rusty or dirty metal, while 7018 provides stronger welds on clean, properly prepared steel. The best choice depends on the metal condition and the required strength.
Hardfacing applies a wear-resistant weld layer to high-abrasion parts like plow blades and bucket edges. It protects the base metal and extends service life, reducing seasonal replacement costs.
Repair is appropriate when damage is localized, and structural alignment remains stable. Replacement is necessary when cracks affect critical load-bearing areas, fatigue is widespread, or corrosion has weakened the structure.