How to weld stainless steel is valuable in industries like automotive, food processing, and marine engineering. Its corrosion resistance and durability make it a top choice, but its unique properties require specific techniques to avoid issues like warping or loss of corrosion resistance.
Come with me! We will walk through how to weld stainless steel, covering essential tools, step-by-step methods (TIG, MIG, stick), troubleshooting tips, and advanced techniques to ensure strong, clean welds for any project.
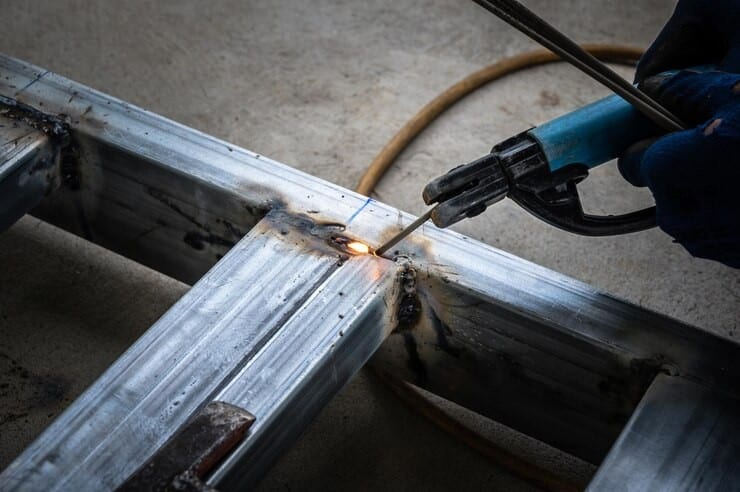
Understanding Stainless Steel and Welding Challenges
Stainless steel stands out due to its chromium content (typically 10–30%), which provides excellent corrosion resistance, making it ideal for harsh environments. However, its properties also create welding challenges.
- Low Thermal Conductivity: Stainless steel retains heat, increasing the risk of warping or distortion.
- Grade Variations: Common grades like 304 (austenitic, general-purpose), 316 (marine-grade, high corrosion resistance), and 430 (ferritic, magnetic) have different welding requirements.
- Corrosion Resistance: Improper welding can compromise the protective chromium oxide layer, leading to rust.
Key Challenges:
- Warping: Excessive heat causes distortion, especially in thin sheets.
- Burn-Through: High heat input on thin materials can create holes.
- Contamination: Oils, dirt, or improper filler metals can weaken welds or reduce corrosion resistance.
Essential Tools and Materials for Welding Stainless Steel
To weld stainless steel effectively, gather the right equipment and materials tailored to your project.
Equipment Needed
1. TIG Welder: Ideal for precision (e.g., YesWelder TIG-205P PRO).
2. MIG Welder: Suitable for thicker materials (e.g., YesWelder Flux-135 PRO).
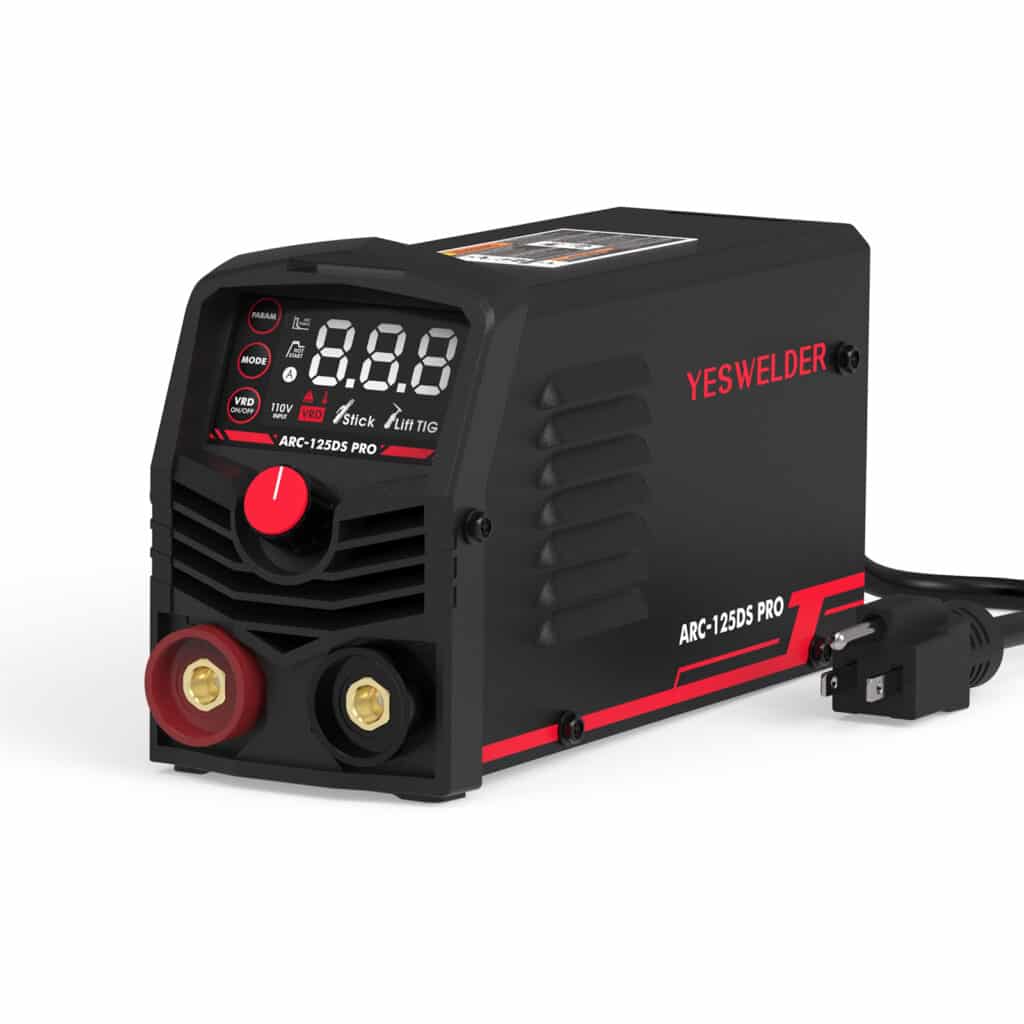
3. Stick Welder: Great for outdoor use (e.g., YesWelder ARC-125DS PRO).
4. Protective Gear: Auto-darkening welding helmet (ANSI Z87.1-compliant), flame-resistant gloves, jacket, and steel-toe boots.
5. Cleaning Tools: Stainless steel wire brush (dedicated to stainless to avoid cross-contamination), acetone, and lint-free cloths for surface prep.
6. Other: Clamps for securing workpieces, an angle grinder for edge preparation, and ventilation fans for fume extraction.
Filler Metals and Shielding Gases
Filler Metals:
- 304 Stainless: Use 308L filler for strong, corrosion-resistant welds.
- 316 Stainless: Choose 316L for marine or chemical applications.
- 430 Stainless: Opt for 430 or 309L for ferritic grades.
Shielding Gases:
- TIG: 100% argon for clean, precise welds.
- MIG: Tri-mix (90% helium, 7.5% argon, 2.5% CO₂) or 98% argon/2% CO₂ for minimal spatter.
- Stick: No gas needed, but select electrodes like E308-16 for austenitic stainless.
| Welding Method | Recommended Filler | Shielding Gas | Best For |
|---|---|---|---|
| TIG | 308L, 316L | 100% Argon | Thin materials, precision |
| MIG | 308LSi, 316LSi | Tri-mix or 98/2 | Thicker materials, speed |
| Stick | E308-16, E316-16 | None | Outdoor, heavy-duty |
How to Weld Stainless Steel: Step by Step
There are different types of stainless steel welding. Follow these steps to achieve strong, clean welds, tailored to your chosen method.
Step 1: Preparation
Proper prep prevents contamination and ensures weld quality:
- Clean the Surface: Use acetone and a lint-free cloth to remove oils, dirt, or grease. Follow with a stainless steel wire brush to remove oxides.
- Cut and Fit: Cut stainless steel to size using a plasma cutter or angle grinder. Bevel edges for thicker materials (>1/4 inch) to ensure penetration.
- Secure Workpiece: Use clamps to hold pieces firmly, minimizing gaps to prevent distortion.
- Set Up Workspace: Ensure good ventilation (fumes from stainless steel contain chromium, which can be harmful). Wear PPE and ground the welder properly.
Step 2: Choosing the Right Welding Method
Select a method based on different project’s needs.
TIG Welding
Best For: Thin materials (e.g., 1/16-inch sheets), high-quality welds for food-grade or aesthetic applications.
Settings: For 1/8-inch 304 stainless, use 80–120 amps (DCEN), 1/16-inch tungsten (2% thoriated), and 15–20 CFH argon flow.
Technique:
- Set welder to DCEN (straight polarity) for clean penetration.
- Hold torch at a 10–15° angle, moving steadily to avoid overheating.
- Feed 308L filler rod manually, maintaining a small puddle.
Pros: Precise, minimal spatter, excellent corrosion resistance.
Cons: Slower, requires skill.
MIG Welding
Best For: Thicker materials (>1/8 inch), faster production for industrial projects.
Settings: For 1/4-inch 316 stainless, use 150–200 amps, 25–30 volts, 98/2 argon/CO₂ mix at 20–25 CFH.
Technique:
- Use short-circuit or pulse MIG for thin materials to reduce heat input.
- Maintain a 10–15° push angle and 1/2-inch stick-out.
- Adjust wire feed speed for smooth, consistent welds.
Pros: Faster, beginner-friendly.
Cons: More spatter, less precise than TIG.
Stick Welding (SMAW)
Best For: Outdoor or heavy-duty applications (e.g., structural repairs).
Settings: For 1/4-inch 304 stainless, use 80–110 amps with E308-16 electrodes (1/8-inch diameter).
Technique:
- Set welder to DCEP (reverse polarity).
- Strike arc and maintain a short arc length (1/16–1/8 inch).
- Use a slight weave to fill wider joints.
Pros: Portable, no gas needed.
Cons: Rougher welds, more cleanup required.
Step 3: Welding Techniques
Control Heat Input: Use tack welds or skip welding to minimize distortion. For thin materials, lower amperage and increase travel speed.
Joint Types:
- Butt Joint: Align edges tightly, use TIG or MIG for clean penetration.
- Lap Joint: Overlap pieces slightly, ideal for MIG or stick.
- Fillet Joint: Common for corners, ensure even filler distribution.
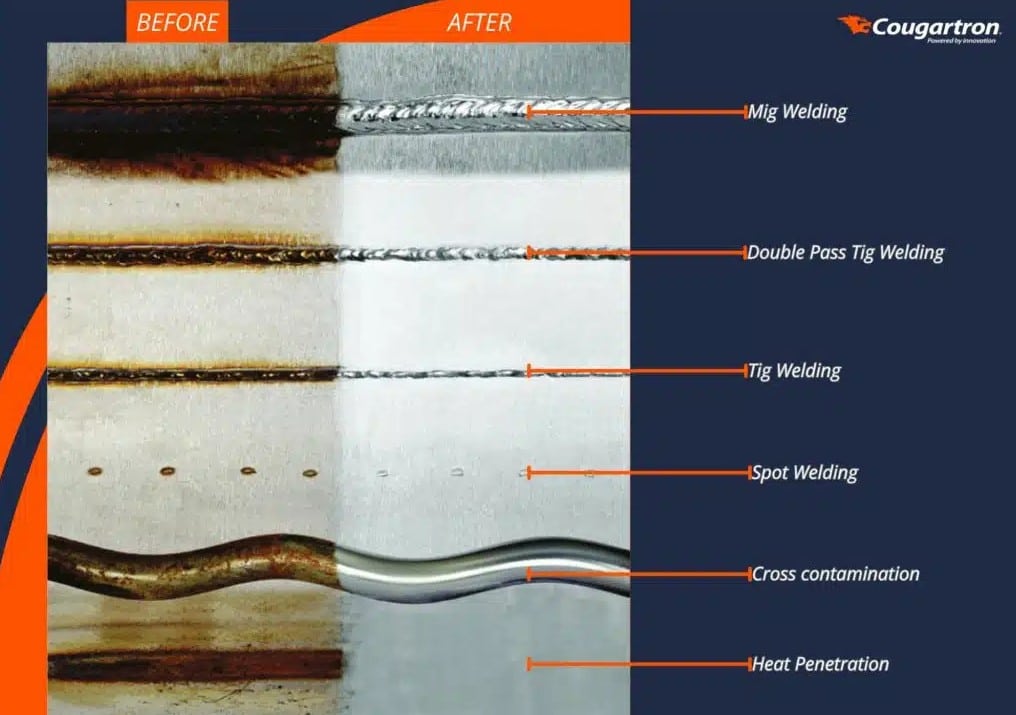
Post-Weld Cleaning: Brush welds with a stainless steel wire brush and clean with acetone to restore corrosion resistance.
Troubleshooting Common Welding Issues
Even experienced welders face challenges with stainless steel. Here’s how to address common problems:
| Issue | Cause | Solution |
|---|---|---|
| Warping | Excessive heat | Lower amps, use tack welds, heat sink |
| Burn-Through | High heat on thin material | Use pulse MIG, increase travel speed |
| Poor Corrosion | Contamination, improper gas | Clean thoroughly, use argon |
| Porosity | Gas flow issues, dirty filler | Adjust gas flow, clean materials |
Advanced Tips for Professionals
For welders tackling complex projects, these techniques elevate your results:
| Tips | How to Do |
| Pulse Welding for Thin Materials | Use pulse MIG or TIG to alternate high and low current, reducing heat input. |
| Welding for Specific Applications | Food-Grade (316 Stainless): Use TIG with 316L filler and 100% argon for sanitary welds. Passivate post-weld with citric acid. (Read more about how to weld 316 stainless steel.) |
| Automotive Exhaust (409 Stainless): Stick weld with 309L electrodes for durability in high-heat environments. | |
| Marine (316L Stainless): TIG weld with 316L filler, polish welds to mirror finish for maximum corrosion resistance. | |
| Post-Weld Treatments | Passivation: Apply nitric or citric acid to restore chromium oxide layer. |
| Polishing: Use a 120–400 grit flap disc for aesthetic or sanitary finishes. |
Safety Best Practices
Welding stainless steel involves risks, so prioritize stainless steel welding safety.
- Personal Protective Equipment (PPE): Wear an auto-darkening helmet (shade 10–12), flame-resistant gloves, jacket, and steel-toe boots.
- Ventilation: Use a fume extractor or work in a well-ventilated area to avoid inhaling chromium fumes, which can cause respiratory issues.
- Material Handling: Use insulated tongs for hot workpieces and let welds cool naturally to avoid burns.
- Electrical Safety: Ensure welder is grounded and avoid wet conditions to prevent shocks.
Closing Words
Welding stainless steel requires careful preparation, the right method (TIG for precision, MIG for speed, stick for versatility), and attention to heat control to avoid warping or burn-through.
Whether you’re a beginner tackling a DIY project or a pro welding food-grade equipment, this guide provides the tools, techniques, and troubleshooting tips to succeed. Practice on scrap stainless steel to hone your skills, and share your projects in the comments below for feedback from the welding community!
Ready to weld? Check out our guides and choose the best welder for more insights.
