Nothing frustrates a welder more than watching a perfectly executed weld develop cracks hours, days, or even weeks after completion. You’ve invested time, materials, and craftsmanship into creating what appeared to be a solid joint, only to discover hairline fractures that compromise the entire structure’s integrity.
Weld cracking isn’t just an aesthetic problem, it’s a serious structural concern that can lead to catastrophic failures in critical applications. Whether you’re working on automotive repairs, structural fabrication, or artistic metalwork, understanding welding cracks causes and how to prevent these failures is essential for producing reliable, long-lasting joints.
The good news? Most welding cracks causes stem from identifiable issues with proven solutions. By understanding the root causes and implementing proper techniques, you can dramatically reduce crack formation and create stronger, more dependable welds.
Understanding Weld Cracking Types
Before diving into specific causes and solutions, it’s essential to understand that weld cracks fall into two primary categories: hot cracks and cold cracks.
Hot cracks occur during the welding process or shortly after, while the weld metal is still at elevated temperatures. Cold cracks develop after the weld has cooled, often appearing hours or days later.
Hot cracks typically appear as centerline cracks running along the weld bead or crater cracks at the end of welds. Cold cracks, also known as hydrogen-induced cracks, usually appear in the heat-affected zone (HAZ) and can be more difficult to detect initially.
1. Excessive Heat Input
The Problem: Many welders believe that more heat equals better penetration, but excessive heat input creates conditions perfect for crack formation. High heat input leads to large grain structures in the weld metal, increased susceptibility to solidification cracking, and excessive thermal stress.
When you run too hot, the weld pool becomes too large and fluid, making it difficult to control. This large molten pool takes longer to solidify, providing more time for impurities to concentrate and create weak spots. Additionally, excessive heat creates deeper heat-affected zones that are more prone to cracking.
Solution: Optimize your welding parameters for the specific application. Use the minimum heat input necessary to achieve proper penetration and fusion. This typically means using lower amperage settings with faster travel speeds, rather than high amperage with slow travel.
For structural applications, calculate your heat input using the formula:
Heat Input (kJ/mm) = (Voltage × Amperage × 60) / (1000 × Travel Speed in mm/min)
Most structural welding applications perform best with heat inputs between 0.8-2.0 kJ/mm, depending on material thickness and type.
Practice maintaining consistent travel speed and use techniques like weaving or oscillation to control heat input while ensuring proper fusion. Consider using pulsed welding modes if your equipment offers them, as these can provide better heat control.
2. Inadequate Preheating
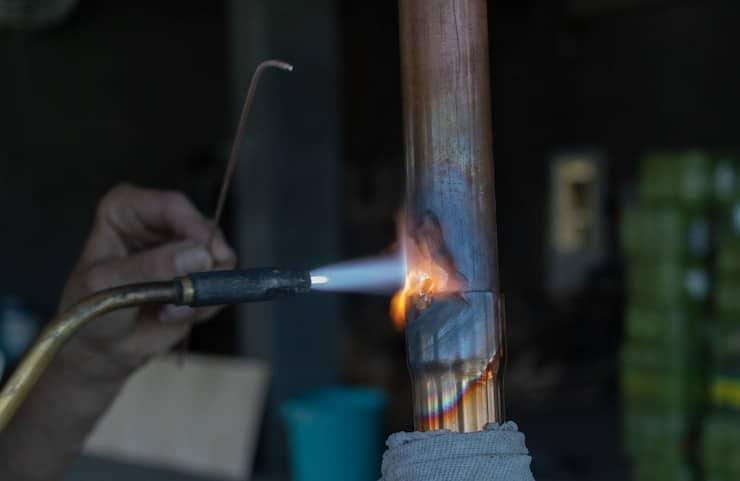
The Problem: Cold cracking is one of the most insidious weld defects because it often appears hours or days after welding. This type of cracking occurs when three factors combine: hydrogen in the weld, high hardness in the HAZ, and residual stress. Inadequate preheating contributes to all three factors.
Without proper preheating, the rapid cooling rate creates hard, brittle microstructures in the HAZ. These hard zones are particularly susceptible to hydrogen embrittlement, and the thermal stresses from rapid cooling provide the driving force for crack initiation.
Solution: Implement proper preheating procedures based on material type, thickness, and carbon equivalent. For most low-carbon steels, preheating to 200-400°F (93-204°C) is sufficient. Higher carbon steels and alloy steels may require preheating temperatures of 400-600°F (204-316°C) or higher.
Use temperature-indicating crayons or infrared thermometers to verify preheat temperatures. Maintain the preheat temperature throughout the welding process, and consider interpass temperature control for multi-pass welds. For critical applications, implement controlled cooling procedures to further reduce the risk of cold cracking.
Don’t forget about post-weld heat treatment (PWHT) for applications that require it. PWHT helps relieve residual stresses and can transform brittle microstructures into more ductile ones.
3. Contamination
The Problem: Contamination introduces impurities that weaken the weld metal and create conditions favorable for crack formation. Common contaminants include oil, grease, paint, rust, moisture, and dirt. These substances can introduce hydrogen, oxygen, and other elements that form brittle compounds or create inclusions that act as stress concentrators.
Even seemingly clean surfaces can harbor invisible contaminants that cause problems. Oils from handling, atmospheric moisture, or residual cleaning solvents can all contribute to weld defects.
Solution: Establish and follow rigorous cleaning procedures. Start with mechanical cleaning using wire brushes, grinders, or sandblasting to remove rust, scale, and coatings. Follow with chemical cleaning using appropriate solvents to remove oils and other organic contaminants.
For critical applications, consider using dedicated stainless steel brushes that haven’t been contaminated with carbon steel particles. Clean not just the joint area, but also the surrounding base metal that will be affected by the welding heat.
Store welding consumables properly to prevent contamination. Keep tungsten welding electrodes in heated storage cabinets, protect wire spools from moisture, and use fresh shielding gas from reputable suppliers. Even the best welding technique can’t overcome contaminated consumables.
4. Poor Joint Design
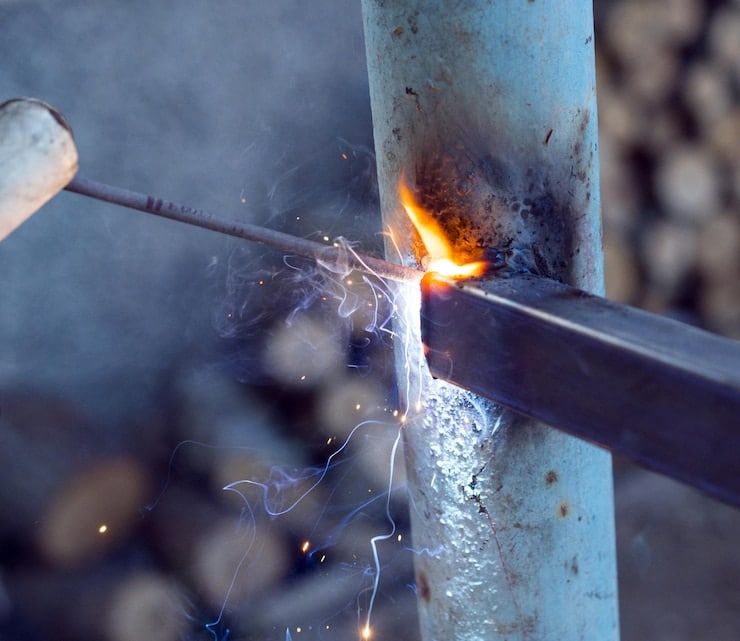
The Problem: Joint design significantly impacts stress distribution and crack susceptibility. Joints with sharp corners, poor fit-up, or inadequate access for proper welding create stress concentrations that promote crack formation. Common design problems include excessive root openings, inadequate groove angles, and poor backing conditions.
Sharp corners and sudden changes in section thickness create stress risers that concentrate forces at specific points. These stress concentrations can exceed the material’s strength even under normal loading conditions.
Solution: Design joints with proper geometry for the intended application. Use adequate root openings (typically 1/8″ to 3/16″ for most applications) and include backing strips or backing gas when necessary. Ensure groove angles are sufficient for complete penetration – typically 60-90 degrees for V-groove joints.
Incorporate stress-relieving features like gradual transitions between different section thicknesses. Use full-penetration welds for highly stressed joints and consider the sequence of assembly to minimize distortion and residual stresses.
For repair welding, evaluate whether the existing joint design contributed to the original failure. Sometimes, modifying the joint geometry is necessary to prevent recurring problems.
5. Restraint and Residual Stress
The Problem: Welding creates significant thermal expansion and contraction that generates residual stresses in the finished joint. When these stresses combine with external loading or rigid restraint, they can exceed the material’s strength and cause cracking.
Highly restrained joints, such as those in rigid frameworks or thick sections, are particularly susceptible to cracking. The restraint prevents the natural expansion and contraction that occurs during welding, creating internal stresses that can lead to both hot and cold cracking.
Solution: Plan the welding sequence to minimize restraint and control distortion. Use techniques like backstep welding, skip welding, or balanced welding to distribute thermal stresses more evenly. Consider using temporary supports or fixtures that allow controlled movement during welding.
For highly restrained joints, implement stress-relief procedures. This might include mechanical stress relief through peening or thermal stress relief through controlled heating and cooling cycles.
In some cases, changing the welding process can help. For example, using lower-heat TIG welding machines instead of stick welding can reduce thermal stress in sensitive applications.
6. The Delayed Failure Mechanism
The Problem: Hydrogen embrittlement causes delayed cracking that can occur hours, days, or even weeks after welding. Hydrogen enters the weld from various sources including moisture, organic contaminants, and welding consumables. This hydrogen becomes trapped in the steel’s crystal structure, reducing ductility and promoting crack formation.
The problem is particularly severe in high-strength steels, thick sections, and highly restrained joints. The combination of hydrogen, high hardness, and residual stress creates the perfect conditions for catastrophic failure.
Solution: Control hydrogen at the source by using low-hydrogen welding processes and consumables. Use low-hydrogen electrodes (such as E7018) and keep them properly stored in heated cabinets. For gas shielded processes, ensure shielding gas is dry and free from contamination.
Implement proper preheating and interpass temperature control to allow hydrogen to diffuse out of the weld before it can cause problems. For critical applications, consider post-weld heat treatment to further reduce hydrogen content.
Use welding techniques that minimize hydrogen pickup, such as maintaining proper arc length and ensuring complete shielding gas coverage. Avoid welding in windy conditions that can disrupt gas shielding.
7. Metallurgical Incompatibility
The Problem: Welding dissimilar metals or using incompatible filler materials can create metallurgical conditions that promote cracking. Understanding welding cracks causes related to material incompatibility is crucial because different materials have different thermal expansion rates, melting points, and solidification characteristics that can lead to stress concentrations and crack formation.
Common problems include welding high-carbon steels with low-carbon filler metals, joining dissimilar alloys without proper transition materials, or using filler metals with significantly different strength levels than the base material.
Solution: Select filler materials that are compatible with both base metals being joined. For dissimilar metal welding, use filler materials specifically designed for the application or consider using buttering techniques with compatible intermediate layers.
Understand the metallurgy of the materials you’re working with. High-carbon steels require different approaches than low-carbon steels, and stainless steels have their own unique requirements. Consult welding procedure specifications (WPS) and material data sheets for guidance.
Consider using specialized techniques like controlled dilution welding or heat treatment procedures specifically designed for dissimilar metal joints. In some cases, mechanical joining methods might be more appropriate than fusion welding.
Prevention: How to Avoid Welding Cracks
Beyond addressing specific causes, implementing comprehensive prevention strategies significantly reduces the likelihood of weld cracking. Start with proper planning – understand the materials, loading conditions, and service requirements before striking the first arc.
Knowing the primary welding cracks causes for your specific application helps you implement targeted prevention measures.
Establish and follow consistent procedures for cleaning, preheating, welding, and post-weld treatment. Document successful procedures and train all personnel on proper techniques. Regular training and certification help ensure consistent quality across all welders.
Invest in proper equipment maintenance. Well-maintained welding equipment produces more consistent results and reduces the likelihood of defects. This includes regular calibration of welding machines, proper maintenance of gas delivery systems, and ensuring adequate ventilation.
Quality Control and Testing
Implement appropriate testing and inspection procedures to catch potential problems before they become failures. This might include visual inspection, dye penetrant testing, or more advanced techniques like ultrasonic testing for critical applications.
Don’t overlook the importance of documentation. Keep records of welding parameters, material certifications, and inspection results. This information becomes invaluable for troubleshooting problems and developing improved procedures.
Final Thoughts
Preventing weld cracking requires understanding both the technical aspects of metallurgy and the practical skills of welding technique.
By addressing the seven common welding cracks causes outlined here, excessive heat input, inadequate preheating, contamination, poor joint design, restraint issues, hydrogen embrittlement, and metallurgical incompatibility, you can dramatically improve your welding success rate.
Remember that quality welding is not just about creating a joint that looks good, it’s about creating a joint that will perform reliably throughout its intended service life. This requires attention to detail, proper procedures, and continuous learning about new techniques and materials.
The investment in understanding and preventing weld cracking pays dividends in reduced rework, improved safety, and enhanced reputation as a skilled welder.
Whether you’re working on critical structural applications or artistic projects, the principles remain the same: proper preparation, appropriate techniques, and attention to detail are the keys to producing crack-free welds that stand the test of time.
Related Articles
Common Welding Mistakes & Impacts on Your Products
MIG Welder Troubleshooting: 20 Common Problems & Quick Fixes
