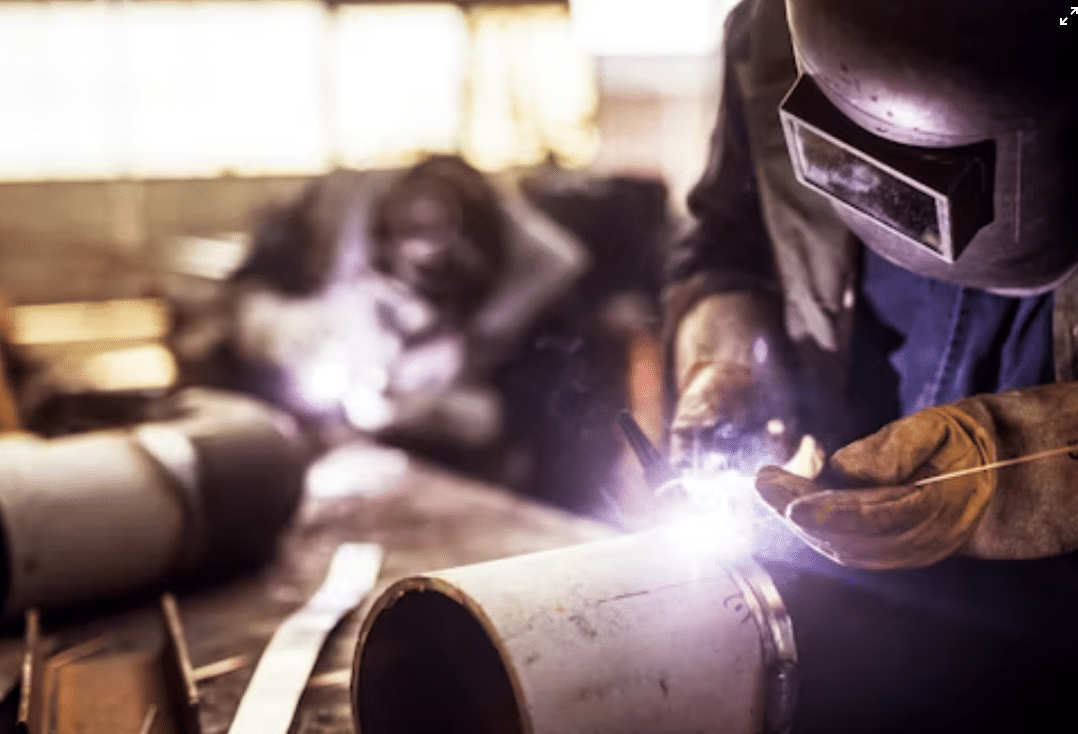
Welding is an art. When done right, it’s clean, satisfying, and strong. But when your MIG welder acts up? It’s more like wrestling with a dragon while blindfolded.
Whether you’re a weekend warrior or a full-time fabricator, encountering a welding hiccup is inevitable. The trick isn’t avoiding problems, it’s knowing how to quickly fix them. That’s where this MIG welder troubleshooting guide comes in.
We’re covering the 20 most common MIG welder problems you’ll face, and how to solve them before your metal turns into a disaster zone.
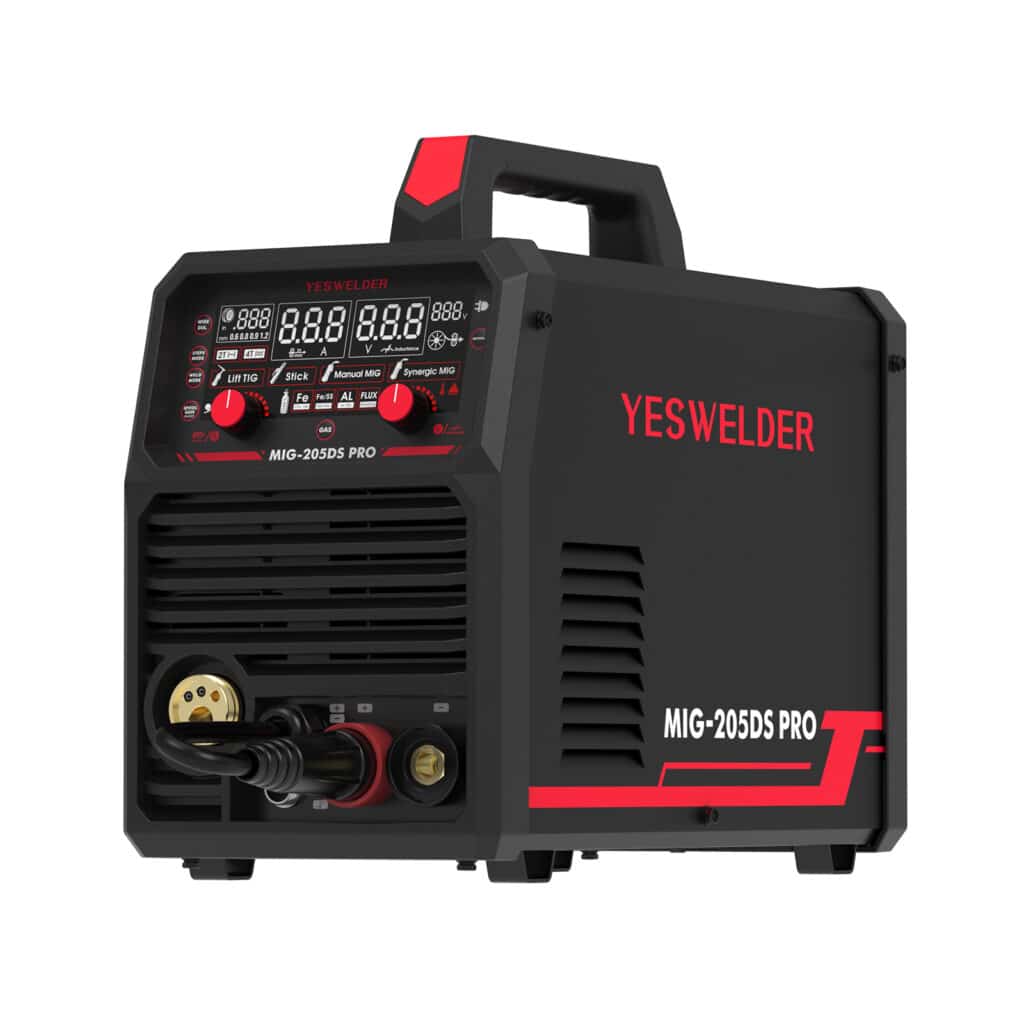
Understanding the MIG Welder
Before diving into specific problems, it’s crucial to understand that MIG welding involves multiple systems working in harmony: the power source, wire feed mechanism, gas delivery system, and torch assembly.
When one component falters, it affects the entire welding process. Most issues stem from improper settings, contaminated materials, worn components, or poor maintenance practices.
1. No Arc or Power Issues
Problem: Your welder won’t start, or there’s no arc when you pull the trigger.
Quick Fix: Start with the basics, check that the power cord is properly plugged in and the main switch is on. Inspect the circuit breaker in your electrical panel. Verify that your input voltage matches the welder’s requirements. Check all connections for looseness or corrosion, and ensure the work clamp has a solid connection to clean metal.
2. Erratic or Unstable Arc
Problem: The arc sputters, pops, or behaves inconsistently.
Quick Fix: This usually indicates incorrect voltage or wire feed speed settings. Consult your welder’s chart for proper parameter settings based on wire diameter and material thickness. Clean the contact tip and check for wear. Ensure your shielding gas flow rate is between 15-25 CFH for most applications.
3. Wire Feed Problems
Problem: MIG welding wire doesn’t feed consistently or stops feeding altogether.
Quick Fix: Check the wire tension – it should be snug but not overly tight. Inspect the drive rolls for proper alignment and ensure they match your wire diameter. Clean any debris from the wire path and check for kinks in the liner. Lubricate the wire if it appears dry or corroded.
4. Excessive Spatter
Problem: Too much spatter around your welds creates messy, unprofessional results.
Quick Fix: Reduce your voltage slightly and ensure proper stick-out distance (typically 1/4 to 3/8 inch). Check your shielding gas, insufficient coverage often causes spatter. Clean the base material thoroughly, removing any oil, paint, or rust that could contaminate the weld.
5. Poor Penetration
Problem: Welds appear to sit on top of the material rather than penetrating properly.
Quick Fix: Increase your voltage and potentially your wire feed speed. Ensure you’re using the correct welding technique, maintain proper travel angle and avoid moving too quickly. Clean the joint preparation area more thoroughly, and consider using a slight weave pattern for thicker materials.
6. Burn-Through
Problem: The weld burns completely through the material, creating holes.
Quick Fix: Reduce your voltage and wire feed speed. Use a backing plate for thin materials, or consider using a pulsed welding mode if your machine has this feature. Increase your travel speed slightly and ensure proper fit-up of your joint.
7. Contact Tip Burnback
Problem: Wire fuses to the contact tip, blocking wire feed.
Quick Fix: This typically happens when the stick-out distance is too short. Maintain proper distance between the tip and workpiece. Replace the burned contact tip and check your technique. Ensure adequate shielding gas flow to protect the tip from excessive heat.
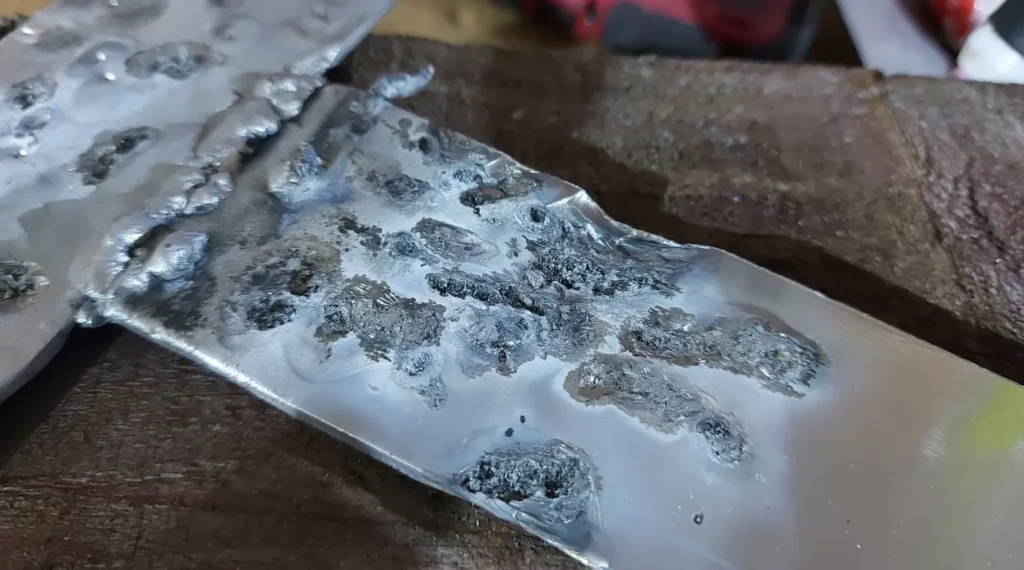
8. Porosity in Welds
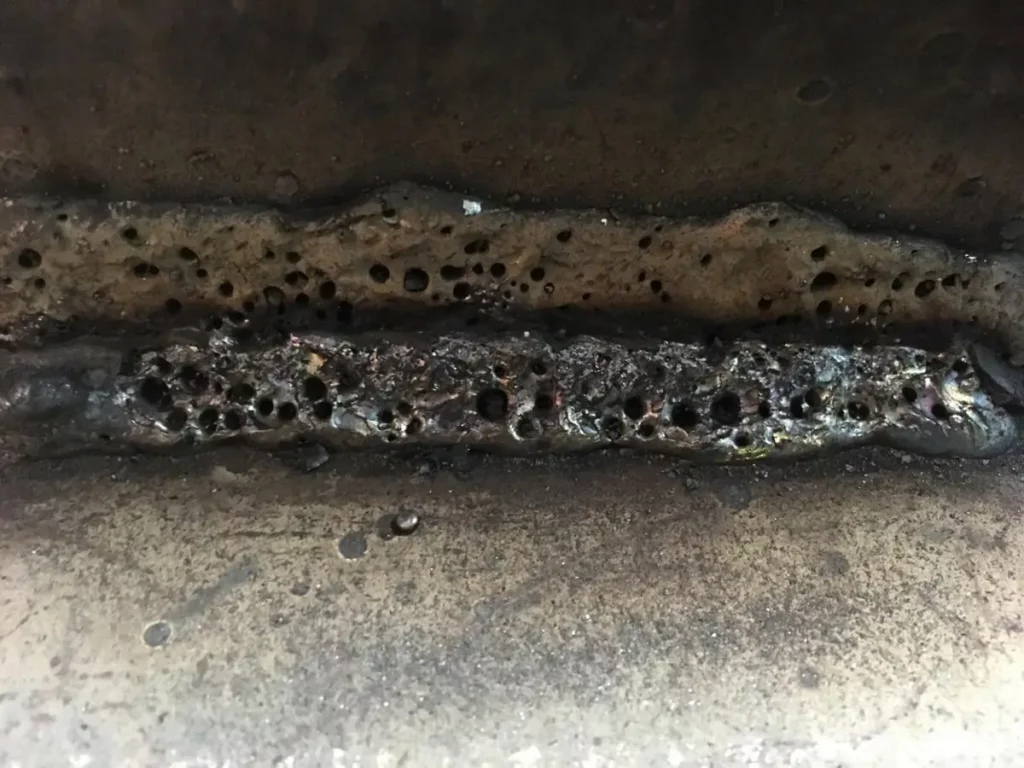
Problem: Small holes or pockets appear in your finished welds.
Quick Fix: Increase shielding gas flow rate and check for leaks in your gas lines or connections. Clean the base material more thoroughly, even small amounts of contamination can cause porosity. Check that your gas cylinder isn’t empty and that you’re using the correct gas mixture for your application.
9. Wire Bird Nesting
Problem: Wire tangles behind the drive rolls, creating a mess.
Quick Fix: Reduce wire tension and check that your drive rolls are properly aligned. Ensure the wire liner isn’t worn or kinked. Feed wire slowly when starting, and make sure the wire spool rotates freely without binding.
10. Inconsistent Bead Appearance
Problem: Your weld beads look uneven or have varying width and height.
Quick Fix: Focus on maintaining consistent travel speed and stick-out distance. Practice steady hand movement and proper body positioning. Check that your wire feed speed remains constant throughout the weld, fluctuations here cause bead inconsistencies.
11. Gas Flow Issues
Problem: Inadequate or excessive shielding gas affecting weld quality.
Quick Fix: Set your flow rate between 15-25 CFH for most applications. Check all gas fittings for tightness and inspect the gas line for damage. Ensure your regulator is functioning properly and that the gas cylinder isn’t empty or nearly empty.
12. Overheating Problems
Problem: Your welder shuts down due to thermal overload.
Quick Fix: Allow the machine to cool completely before restarting. Check that cooling vents aren’t blocked by debris or placed too close to walls. Reduce your duty cycle if you’re welding continuously, and ensure adequate ventilation in your work area.
13. Liner Problems
Problem: Wire feeds roughly or stops feeding due to liner issues.
Quick Fix: Remove the liner and inspect for wear, kinks, or blockages. Clean or replace as necessary. When installing a new liner, ensure proper length, too long or too short causes feeding problems. Use the correct liner size for your wire diameter.
14. Drive Roll Slippage
Problem: Drive rolls spin without advancing the wire.
Quick Fix: Increase tension gradually until wire feeds properly, but avoid over-tightening which can deform the wire. Clean the drive rolls of any debris or wire shavings. Check that you’re using the correct groove size for your wire diameter.
15. Arc Wandering
Problem: The arc doesn’t stay where you point it, making precise welding difficult.
Quick Fix: Check your work clamp connection, poor grounding often causes arc wander. Clean the contact tip and ensure it’s properly installed. Verify that your stick-out distance is consistent and appropriate for your application.
16. Wire Stubbing
Problem: Wire pushes back into the gun instead of feeding properly.
Quick Fix: This usually indicates too much resistance in the wire path. Check the liner for kinks or blockages, and ensure the contact tip isn’t worn or damaged. Verify that your drive roll tension isn’t too loose, preventing proper wire advancement.
17. Rough Weld Appearance
Problem: Welds look rough or have poor surface finish.
Quick Fix: Adjust your technique, maintain steady travel speed and proper gun angle. Check your shielding gas coverage and ensure the base material is completely clean. Consider adjusting your voltage or wire feed speed for smoother operation.
18. Intermittent Wire Feed
Problem: Wire feeds sporadically, starting and stopping unpredictably.
Quick Fix: Check all connections in the wire feed system, including the gun trigger mechanism. Inspect the wire for kinks or damage that might cause intermittent binding. Clean and lubricate the wire feed mechanism according to manufacturer recommendations.
19. Poor Arc Starting
Problem: Difficulty initiating an arc when you pull the trigger.
Quick Fix: Ensure your work clamp has a solid connection to clean metal. Check that the contact tip isn’t worn or clogged. Verify proper stick-out distance and that your initial wire feed speed isn’t set too low for reliable arc initiation.
20. Excessive Wire Consumption
Problem: You’re going through wire much faster than expected.
Quick Fix: Check your wire feed speed settings, they might be too high for your application. Ensure you’re not over-welding joints that require less filler metal. Review your technique to eliminate unnecessary wire waste from stops and starts.
Prevention is the Best Medicine
The key to avoiding most MIG welder troubleshooting scenarios is regular maintenance and proper technique. Keep your equipment clean, check consumables regularly, and always use proper welding parameters for your specific application. Store wire properly to prevent contamination, and perform routine inspections of your gas delivery system.
Remember, troubleshooting MIG welders becomes easier with experience. Don’t get discouraged if solutions don’t come immediately, even experienced welders encounter these issues. The important thing is developing a systematic approach to diagnosis and knowing to implement quick fixes that get you back to welding efficiently.