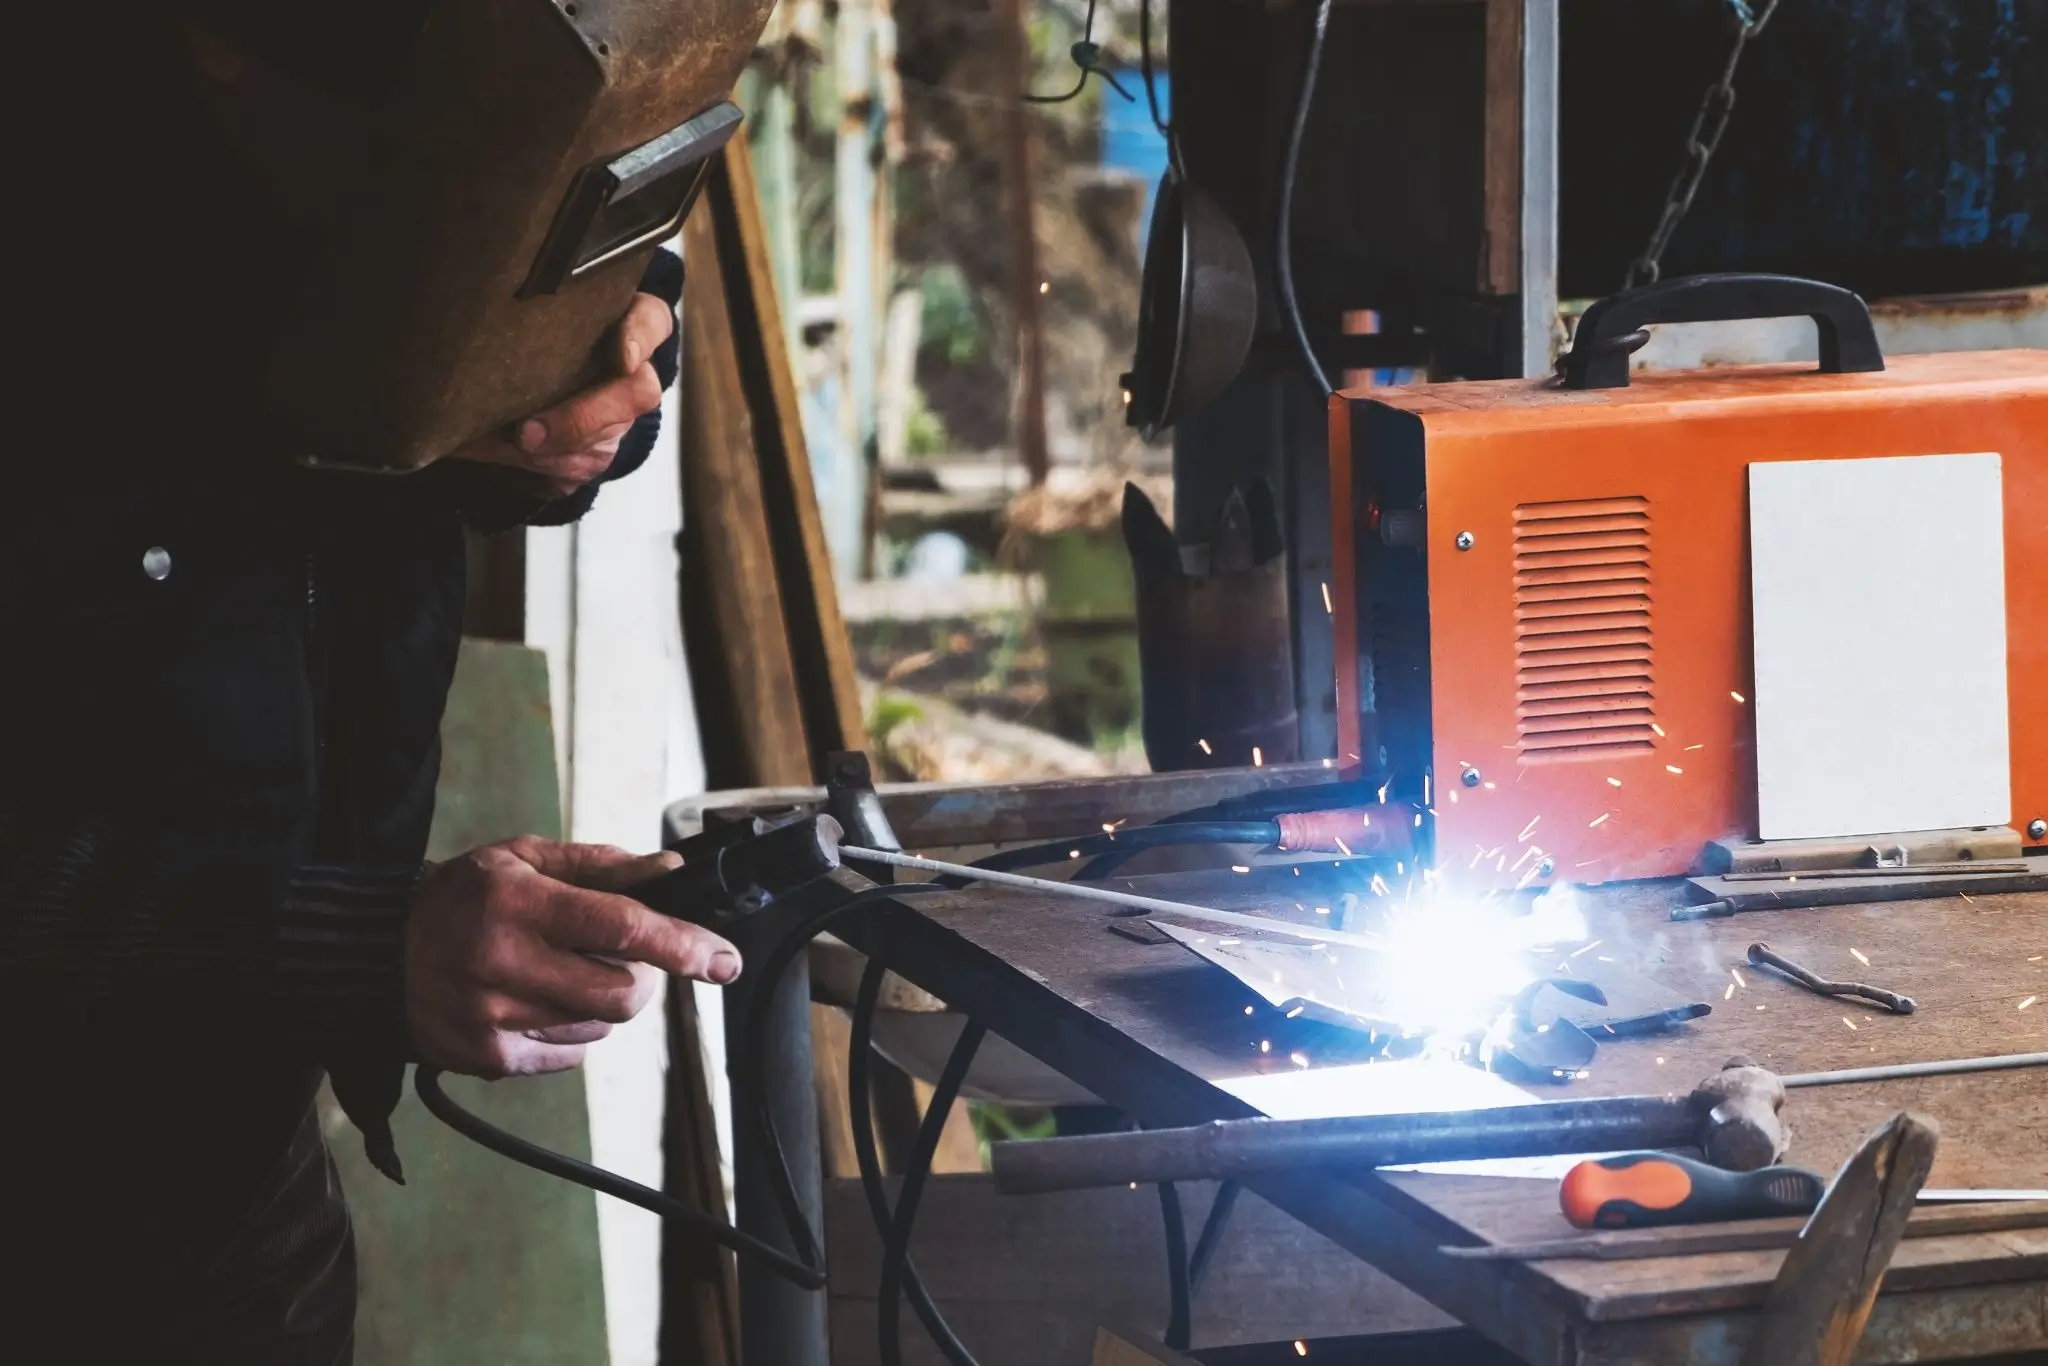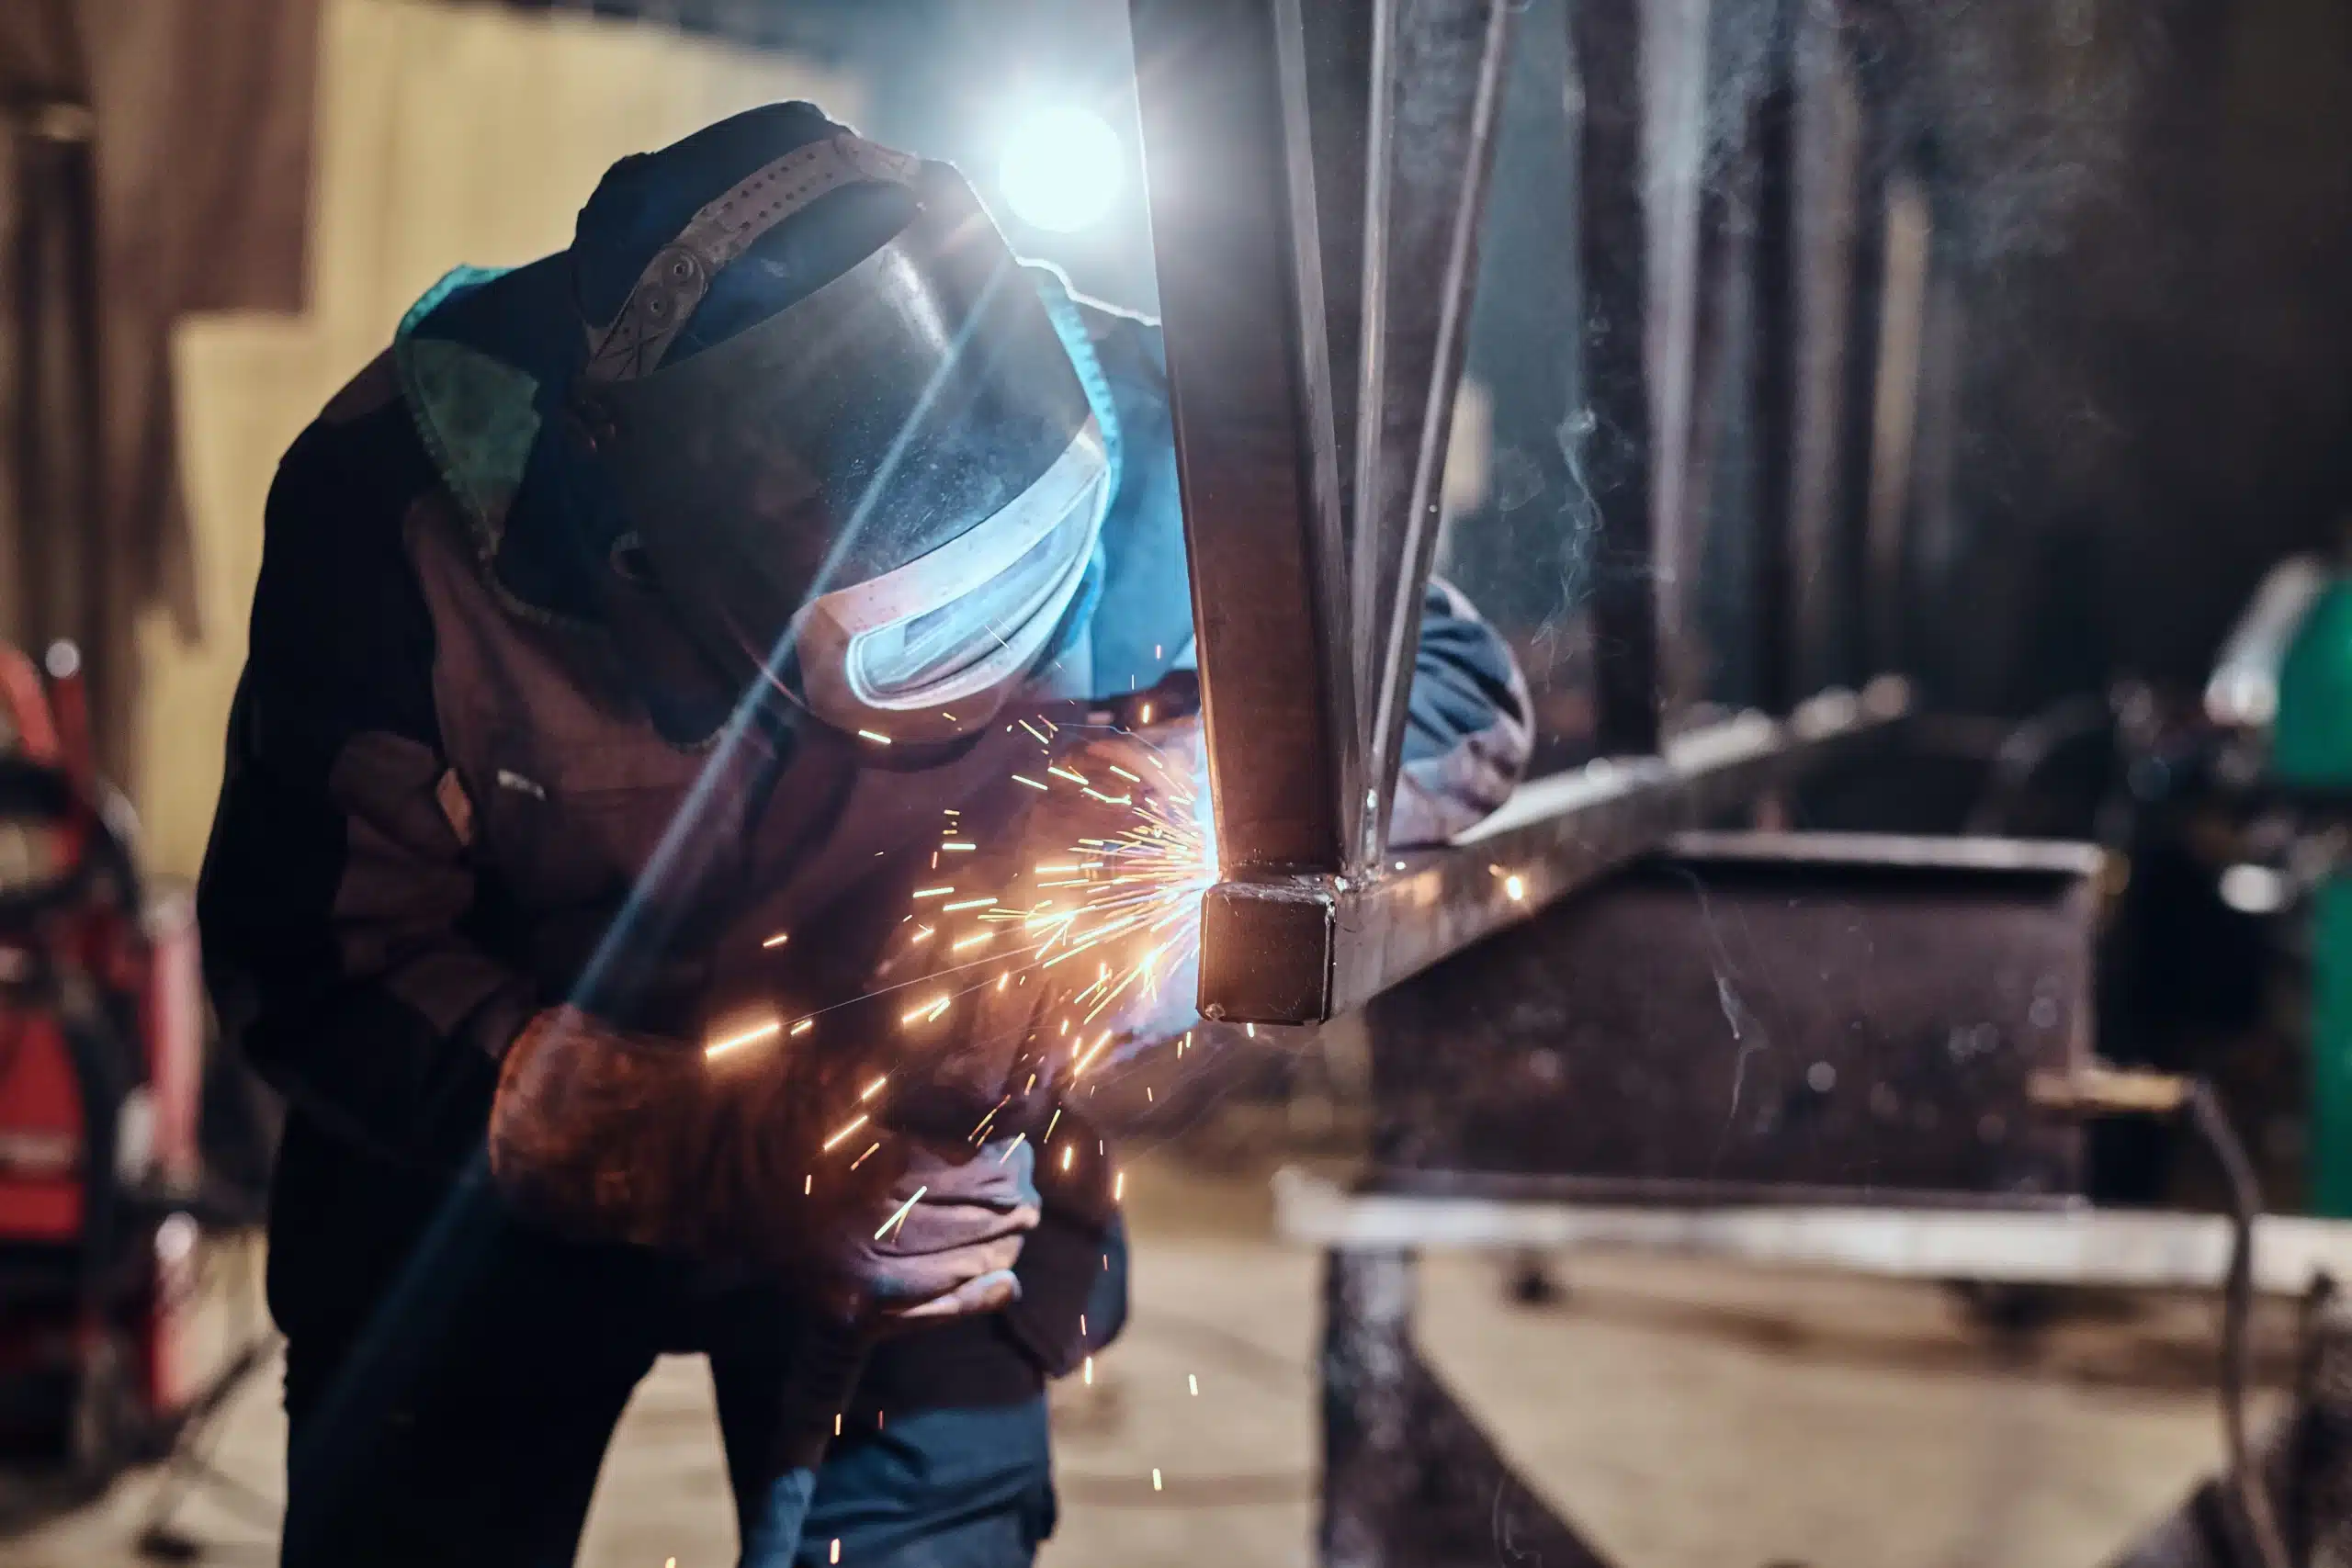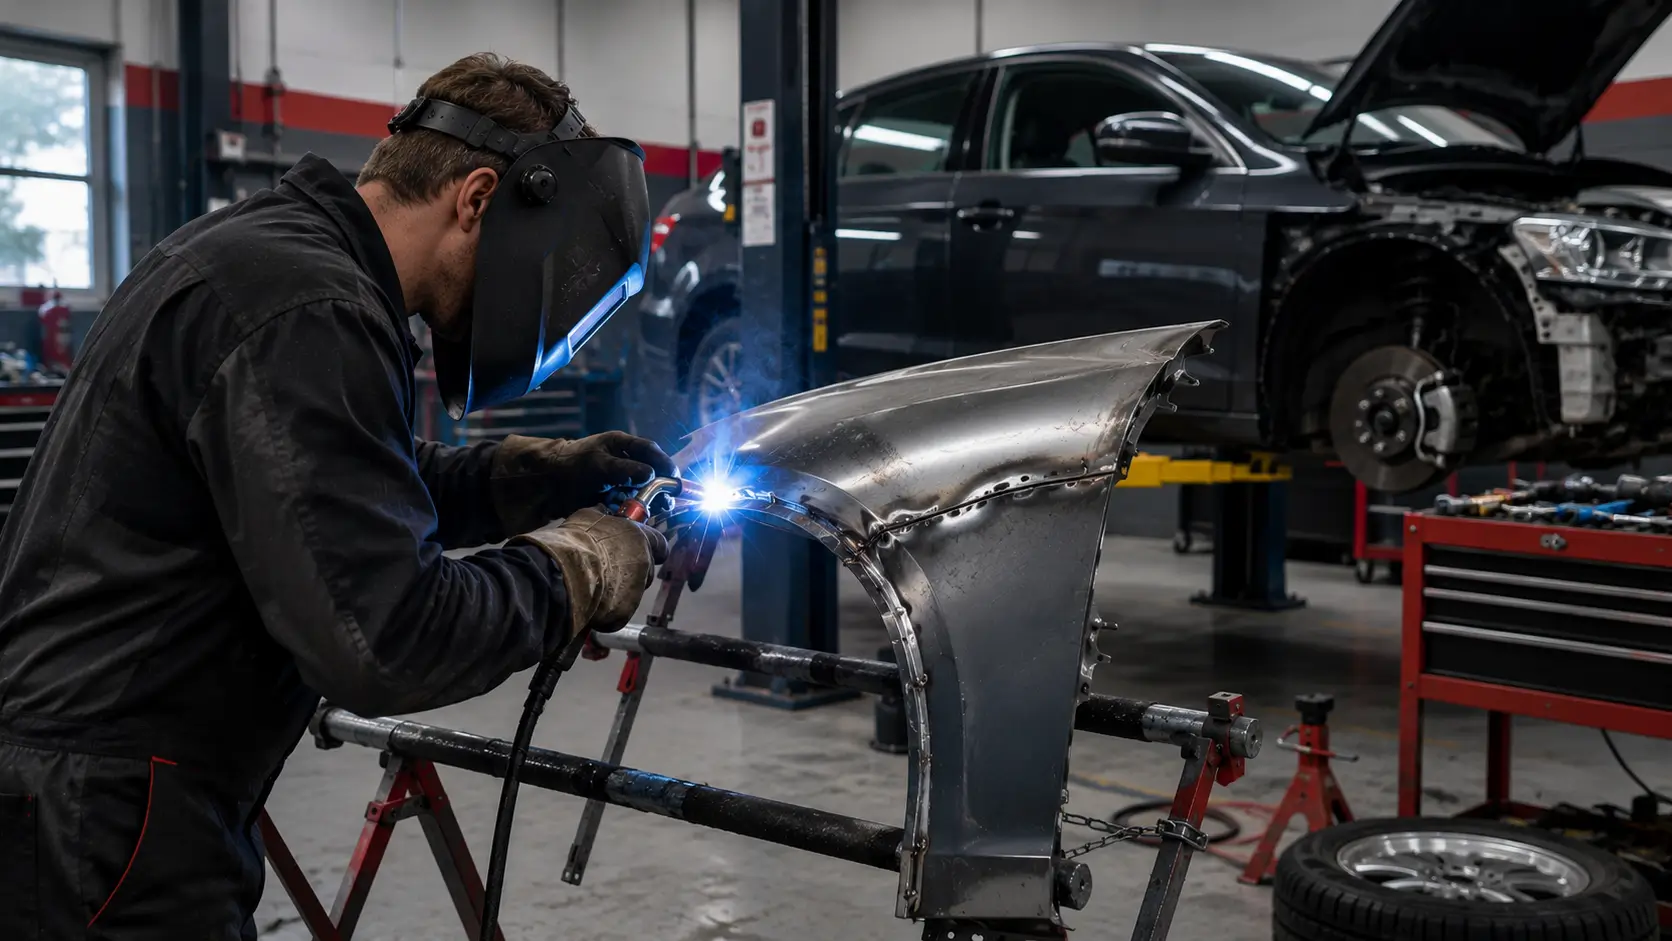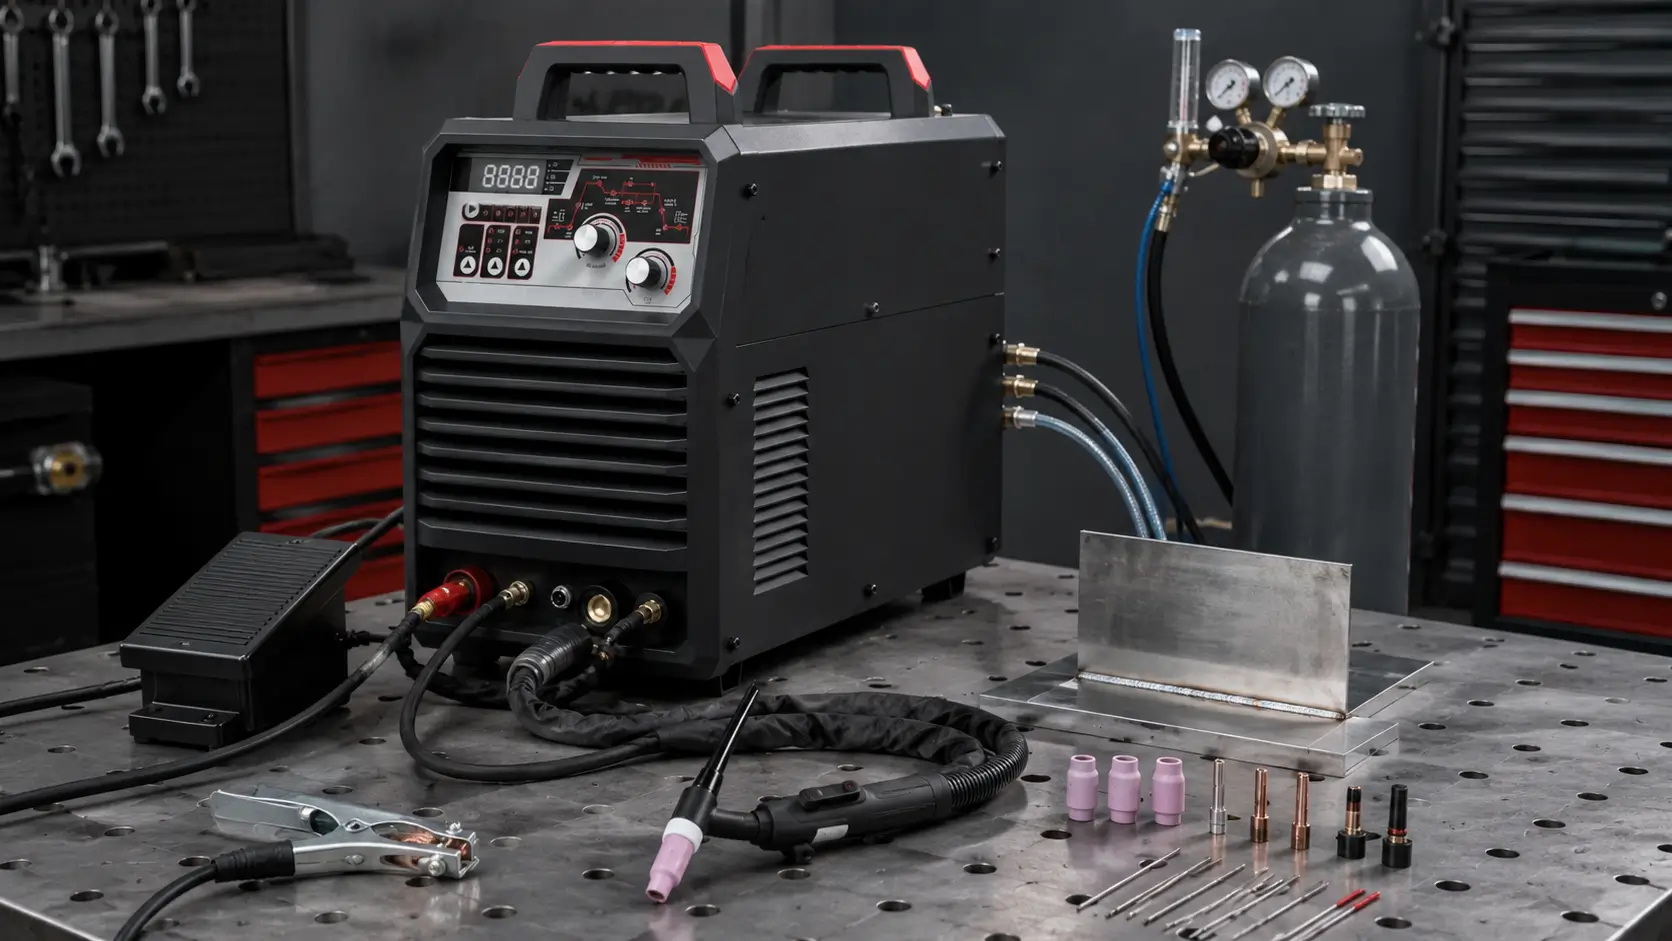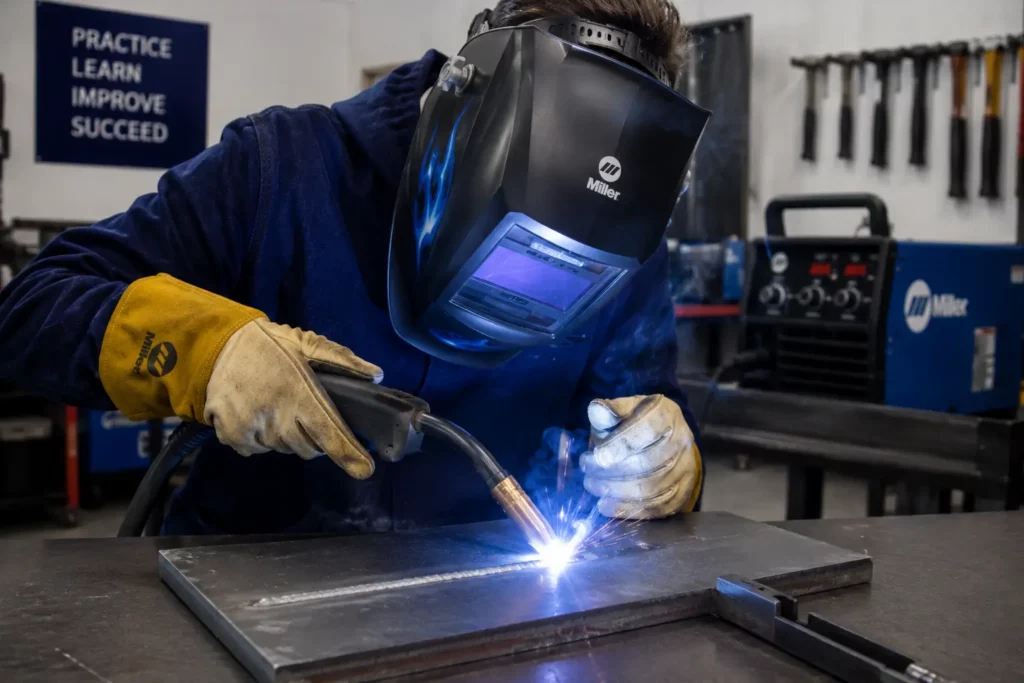
When you start learning wire welding, terms like MIG, flux core, and wire-feed welding can blur together. In this guide, wire welding refers to processes where the machine feeds welding wire through the gun continuously, instead of using short stick electrodes you replace by hand.
This article covers what wire welding means, how MIG and flux core differ, what equipment you need, how to set up your first wire-feed welder, and what to check before choosing a beginner-friendly machine.
What Is Wire Welding?
Wire welding is a broad term for welding processes that feed wire continuously through a welding gun. MIG and flux core are the two wire-feed processes beginners see most often.
Continuous Wire Feed Is the Main Difference
In wire welding, the machine feeds wire as you weld. That wire carries the arc and adds filler metal to the joint.
This is different from stick welding, where the electrode burns down and must be replaced. With wire welding, you can make longer welds without stopping as often, which is one reason many beginners find it easier to learn.
A Wire Welder Can Run MIG, Flux Core, or Both
When you see the term “wire welder,” it may refer to a MIG-only machine, a flux-core-only machine, or a dual-process machine that supports both.
That difference matters before you buy or set up the machine. Solid MIG welding wire needs shielding gas. Self-shielded flux core wire does not need a gas cylinder, but it still needs the right polarity and feeding setup.
For beginners, a dual-process wire welder gives you more room to learn because you can try clean indoor MIG welds and gasless flux-core repair with one machine.

What Are the Two Main Types of Wire Welding?
The two main wire-feed processes are MIG welding (solid wire with external shielding gas) and flux-cored welding (tubular wire with internal flux that may or may not use external gas). Both use continuous wire feed, but they differ in how they protect the weld pool and what conditions suit each process.
MIG Welding with Solid Wire and Shielding Gas
MIG (Metal Inert Gas) welding feeds solid MIG welding wire through the welding gun while simultaneously delivering shielding gas, typically argon/CO2 mix or pure CO2, that protects the molten weld pool from atmospheric contamination.
MIG usually produces cleaner, lower-spatter welds with good appearance and less cleanup than flux core.
However, MIG requires a gas cylinder, regulator, and hoses, making the setup less portable. Wind disrupts gas coverage, limiting outdoor use.
Flux-Cored Welding with Gasless or Gas-Supported Options
Flux-cored welding uses tubular wire filled with flux compounds. As the wire burns, the flux creates shielding gas and protective slag around the weld.
Self-shielded flux core does not need an external gas cylinder, so the setup is easier to move between jobs. It also handles light wind better than MIG because there is no external shielding gas to blow away.
The trade-off is cleanup. Flux core usually creates more spatter, leaves slag after each pass, and produces a rougher-looking bead than MIG.
A Practical Comparison Beginners Can Actually Use
| Feature | MIG Welding | Flux Core Welding |
| Gas Required | Yes (argon/CO2) | No (self-shielded) |
| Portability | Moderate | Excellent |
| Wind Tolerance | Poor | Excellent |
| Weld Cleanup | Minimal | Slag removal needed |
| Weld Appearance | Cleaner | Rougher |
| Beginner Ease | Easier | Moderate |
Which Is Better for Beginners: MIG or Flux Core?
MIG welding offers the easiest learning curve for indoor work, while flux core provides better portability and outdoor tolerance. The best starting point depends on where you’ll weld, what you’ll weld, and whether you value ease of learning or equipment portability.
When MIG Is the Easier Path for a New User
MIG welding provides the gentlest learning curve for beginners working in controlled indoor environments. The clean process lets you see the weld pool clearly without slag obscuring your view, providing immediate visual feedback that helps you learn proper technique faster. Minimal spatter and no slag cleanup mean you can evaluate weld quality immediately rather than after chipping and brushing. Modern MIG machines often include preset programs for different materials and thicknesses, select “1/8 inch steel” and the machine automatically sets appropriate voltage and wire speed.
When Flux Core Is the More Practical Starting Choice
Choose flux core when portability matters more than ultimate ease of learning. Self-shielded flux core eliminates gas cylinders, regulators, and hoses, you carry just the welder and extension cord to the job site.
For outdoor work, farm equipment repair, or mobile jobs where shielding gas is hard to manage, flux core is usually the more practical wire-feed option.
A Dual-Process Machine Gives You More Room to Learn
A machine that supports both MIG and flux core lets you start with the process that fits your first projects, then try the other one later.
For indoor practice, MIG is often easier because the weld is cleaner and easier to read. For outdoor repair, flux core may be more practical because it does not need a gas cylinder. A dual-process wire welder keeps both paths open.
What Equipment Do You Need to Start Wire Welding?
A complete starter setup includes the welder, the right wire, shielding gas equipment for MIG, safety gear, and a few basic accessories. The welder alone is not enough. You still need the parts that let the machine feed wire, protect the weld, and keep you safe.
A Wire-Feed Welder as the Core of the Setup
The welding power source provides electrical output, wire feeding mechanisms, and controls for adjusting welding parameters. Entry-level machines typically offer 120V or 230V input options, 30-140 amp output ranges, and basic voltage/wire-speed controls.
Wire, Gas Equipment, and Feeding Components
- For MIG: Solid MIG welding wire spools (0.030″ or 0.035″ diameter typical), shielding gas cylinder with regulator and flowmeter, gas hoses, and drive rolls matched to wire diameter. Contact tips and nozzles wear out and need periodic replacement.
- For Flux Core: Self-shielded flux-core wire appropriate for your machine’s polarity, drive rolls suited to tubular wire (smooth or lightly knurled to avoid crushing), and proper contact tips sized for flux-core diameter.
Safety Gear, Grounding, and Basic Accessories
- Essential Safety Equipment: Auto-darkening welding helmet protecting your eyes and face, leather welding gloves protecting hands from heat and spatter, flame-resistant jacket or sleeves, and safety glasses worn under the helmet.
- Basic Accessories: Wire brush for cleaning welds, chipping hammer for flux-core slag removal, angle grinder with wire wheel for surface preparation, clamps or magnets for holding workpieces, and fire extinguisher.
What Should You Look for in a Beginner-Friendly Wire Welder?
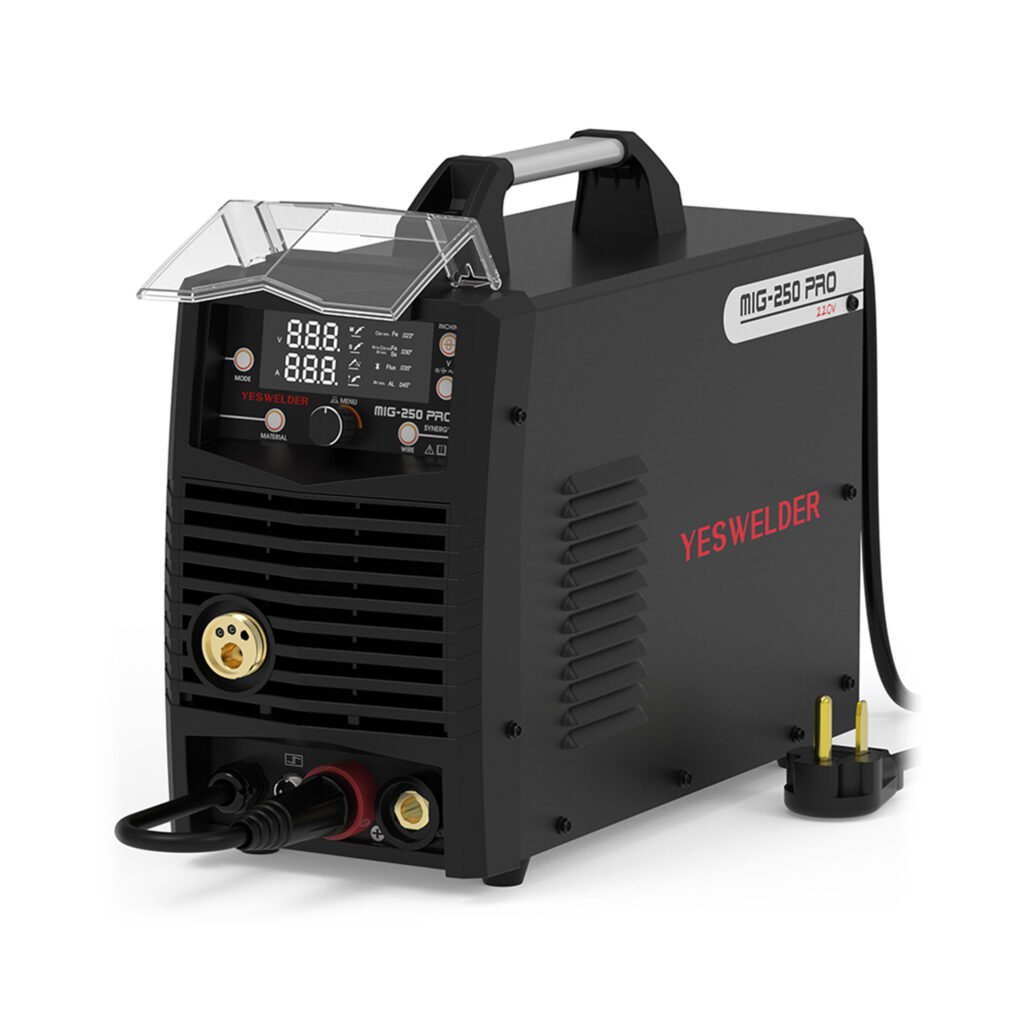
Choose a beginner-friendly wire welder by checking process support, setup clarity, wire feeding stability, and consumable availability. A good starter machine should make MIG and flux core setup easier to understand, not harder.
Controls and Setup Features
Preset programs can help beginners choose a starting point for common material thicknesses, such as 1/8-inch steel. Clear voltage and wire-speed displays also make troubleshooting easier than vague dial markings.
Easy polarity switching is especially important on machines that support both MIG and flux core. Solid MIG wire usually runs DCEP, while many self-shielded flux-core wires run DCEN. Clear labels reduce one of the most common setup mistakes.
MIG and Flux Core Support
A beginner-friendly wire welder should clearly show whether it supports MIG, flux core, or both. MIG needs shielding gas and solid wire. Flux core can run without gas, but it still needs the right wire, contact tip, drive roll, and polarity setup.
A dual-process machine gives beginners more flexibility because they can practice clean indoor MIG welds and outdoor flux-core repair without buying two machines.
Stable Wire Feeding and Common Consumables
Stable wire feeding matters because many beginner problems start before the weld even begins. Poor feeding can cause burnback, birdnesting, uneven beads, and unstable arcs.
Look for common contact tips, liners, nozzles, and drive rolls. This matters for one new welder in a garage, but it also matters for training programs, repair shops, and entry-level product lines where replacement parts need to be easy to source.
Support Materials and Setup Guidance
Clear setup charts, polarity instructions, and consumable lists make a beginner machine easier to use and easier to support. When comparing options from a welding equipment supplier, check whether the product page explains supported wire sizes, polarity options, and replacement consumables clearly.
Beginner Machine Red Flags to Avoid
A beginner-friendly machine should not leave the user guessing during setup. Avoid machines with unclear polarity labels, unstable wire feeding, uncommon consumables, hidden wire-size compatibility, or no clear starting settings for MIG and flux core.
For training programs and distributors, small setup details can become repeated support questions. New users need to know which wire size to use, which polarity to set, whether gas is required, and which contact tips, liners, and consumables match the machine.
How Do You Set Up a Wire Feed Welder for the First Time?
Setting up a wire feed welder correctly requires setting polarity for your wire type, installing wire and matched consumables, starting with recommended machine settings, and preparing clean metal. Correct initial setup prevents problems that beginners often blame on technique when the real culprit is machine configuration.
Set the Correct Polarity Before Anything Else
MIG welding with solid wire requires DCEP (DC Electrode Positive/Reverse Polarity). Self-shielded flux core typically requires DCEN (DC Electrode Negative/Straight Polarity). Running the wrong polarity creates poor penetration, excessive spatter, and unstable arcs that make learning impossible.
Install the Wire Correctly and Match the Consumables
Thread wire through the drive rolls, gun cable liner, and contact tip following the machine manual’s routing diagram. Set drive roll tension firm enough to feed wire without slipping but not so tight that it deforms or crushes the wire. Install contact tips matching your wire diameter, 0.030″ tips for 0.030″ wire, 0.035″ tips for 0.035″ wire.
Start with the Machine’s Recommended Settings
Consult the parameter chart typically found inside the machine’s wire-feed door or in the manual. For your material thickness and wire diameter, use the recommended voltage and wire speed as starting points.
Prepare Clean Metal and Confirm the Work Conditions
Remove paint, rust, oil, and mill scale from both sides of the joint using a grinder or wire wheel. Dirty metal causes porosity and poor fusion that beginners mistakenly attribute to their technique. Ensure your work clamp provides good electrical contact to bare metal. For MIG, verify gas flows properly.
How Should Beginners Practice Wire Welding Technique?
Beginners should start with simple straight beads on flat plate, then progress to different positions and joint types while focusing on gun angle, stickout, and travel speed. Effective practice builds skills progressively rather than jumping immediately to complex projects.
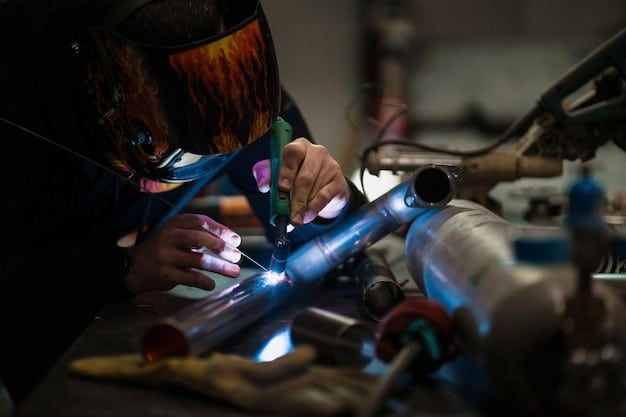
Start with Simple Beads Before Moving to Joints
Begin by running straight beads on flat steel plate without trying to join anything. Focus on creating consistent beads that are uniform width and height across their entire length. Once straight beads look reasonably consistent, practice beads in different positions, horizontal, vertical up, overhead, before attempting actual joints.
Focus on Angle, Stickout, and Travel Speed
- Gun Angle: Maintain 5-15 degree push angle (gun tilted forward in travel direction) for MIG, or 5-15 degree drag angle (gun tilted backward) for flux core.
- Contact Tip Stickout: Keep 3/8″ to 1/2″ of wire extending beyond the contact tip. Too little causes the gun to overheat; too much creates erratic arc.
- Travel Speed: Move fast enough that the arc stays near the leading edge of the weld pool, but slow enough that the weld pool completely fills the joint.
Build Consistency Before Trying to Make Welds Look Perfect
Your first hundred beads won’t look professional, that’s normal. Focus on making each bead similar to the previous one rather than achieving magazine-quality appearance immediately. Consistency indicates you’re controlling the variables; appearance improves naturally as consistency develops.
What Problems Are Most Common in Beginner Wire Welding?
The most common beginner problems include excessive spatter, burn-through, porosity, wire feeding issues, stubbing, unstable arcs, lack of fusion, and uneven beads.
Start by checking setup first, because wrong polarity, poor grounding, dirty metal, or bad wire feeding can make good technique look bad.
Spatter, Burn-Through, and Porosity
Excessive Spatter: Usually caused by voltage too high, contaminated base metal, or wrong polarity for flux core. Reduce voltage incrementally, clean metal thoroughly, verify polarity matches wire type.
Burn-Through: Holes blown through thin material indicate too much heat. Reduce voltage, increase travel speed, or use smaller diameter wire.
Porosity: Small holes or voids in completed welds result from contaminated metal, inadequate gas coverage (MIG), or moisture in flux-core wire.
Poor Feeding, Wire Stubbing, and Unstable Arc Behavior
- Wire Feeding Problems: Erratic feeding or wire jamming usually stems from incorrect drive roll tension, worn liner, wrong drive roll type, or kinked gun cable.
- Wire Stubbing: Wire hitting the work and stopping rather than establishing an arc indicates contact tip blockage, too-low voltage, or incorrect stickout.
- Unstable Arc: Wandering, sputtering arc suggests poor grounding, contaminated metal, worn contact tip, or inconsistent wire feeding.
Lack of Fusion and Uneven Bead Shape
- Lack of Fusion: Weld sits on top of base metal without penetrating, often from travel speed too fast, voltage too low, or wrong gun angle.
- Uneven Beads: Inconsistent width and height result from unsteady hand movement or inconsistent travel speed.
What Should Training Schools and Distributors Look for in Beginner-Friendly Wire Welders?
Training schools and distributors need beginner-friendly wire welders because most early welding problems start before the weld itself. New users may set the wrong polarity, fight unstable wire feeding, pair the wrong contact tip with the wire, or miss a MIG gas setup step when the machine does not make the process clear.
That is why setup clarity matters. Clear labels, simple controls, stable feeding, and common consumables can reduce repeated questions for instructors, shop teams, and after-sales support.
Durable Machines for Training Use
Training machines often deal with incorrect settings, wire jams, rough handling, and long practice sessions from inexperienced users. A beginner-friendly wire welder should have stable wire feeding, clear controls, forgiving setup, and enough durability for repeated classroom or shop use.
Simple Setup for New Users
Setup simplicity matters when one instructor is helping several students at the same time. Clear parameter guidance, easy polarity switching, and simple wire-size instructions can reduce confusion before the first weld bead starts.
Common Consumables and Lower Running Costs
Training programs and repair shops use contact tips, nozzles, liners, and drive rolls quickly. Machines that use common, easy-to-source consumables are easier to maintain and less expensive to keep running.
This also matters for entry-level product lines. A machine may look attractive on the spec sheet, but it becomes harder to support if replacement parts are uncommon, expensive, or difficult to match with the wire sizes beginners actually use.
Supplier Support Beyond the Spec Sheet
Technical specs are only part of the decision. Consistent build quality, spare parts availability, warranty support, setup charts, and clear training materials all affect how easy the machine is to sell, teach, and support.
A good welding equipment supplier should make the first setup easier to explain. YesWelder’s MIG welder lineup gives training programs, repair shops, and distributors a practical way to match machines to beginner practice, portable repair, or entry-level resale programs, instead of pushing one model into every use case.
Entry-Level Machines Can Build Long-Term Demand
Entry-level machines may not look as profitable as professional-grade models at first, but they often introduce people to a brand. When new welders have a smoother first experience, they are more likely to keep practicing, buy consumables, and upgrade to more advanced equipment later.
Conclusion
Wire welding for beginners usually comes down to two paths. MIG is easier for clean indoor practice, while flux core is more practical for outdoor repair and portable work. Both use continuously fed wire, but they need different shielding, polarity, wire, and setup habits.
The biggest mistake is treating any wire welder as beginner-friendly. A machine with unclear polarity labels, unstable wire feeding, uncommon consumables, or weak setup guidance can make new users think their technique is the problem.
For one learner, a dual-process wire-feed machine keeps both MIG and flux core open. For a school, repair shop, or distributor, the same features reduce setup questions, downtime, and after-sales support pressure.
YesWelder offers MIG welder options, wire-feed machines, and welding accessories for beginner setups, training programs, and entry-level product lines. Compare the lineup by process support, polarity switching, wire-size compatibility, consumables, and setup guidance before choosing a machine for first projects.
FAQ
Yes. Wire welding is usually easier to learn than stick welding because the machine feeds the wire for you. You can focus more on gun angle, travel speed, and seeing the weld pool instead of constantly managing a burning stick electrode.
Self-shielded flux-core welding works well outdoors because it doesn’t rely on external gas that wind disrupts. MIG welding can be harder outdoors because wind may disturb the shielding gas. For outdoor learning and projects, flux-core capability provides better practical experience.
A 110V/120V wire welder with stable output can handle many beginner projects, such as light fabrication, automotive body work, and small home repairs. Material thickness depends on the machine, wire type, and joint design, so always check the machine’s chart before welding.
Many beginners can make cleaner practice beads after a few hours, but consistent welds across different joints take longer. Expect to spend several focused practice sessions learning wire speed, travel speed, gun angle, and heat control before moving to real projects.
Yes, many beginner-appropriate wire welders support both MIG and flux core through polarity switching and appropriate consumable changes. These dual-process machines cost somewhat more than single-process units but provide valuable flexibility for learning both processes without purchasing separate equipment.